Alright, to all the system administrators out there, this post would be on how to promote your Windows server 2016 to become a domain controller by installing the “Active Directory domain services” role on it. The installation is no different from what we have been doing on the previous versions of Windows server and almost all the steps are the same.
With that being said, let’s get started with the installation steps now,
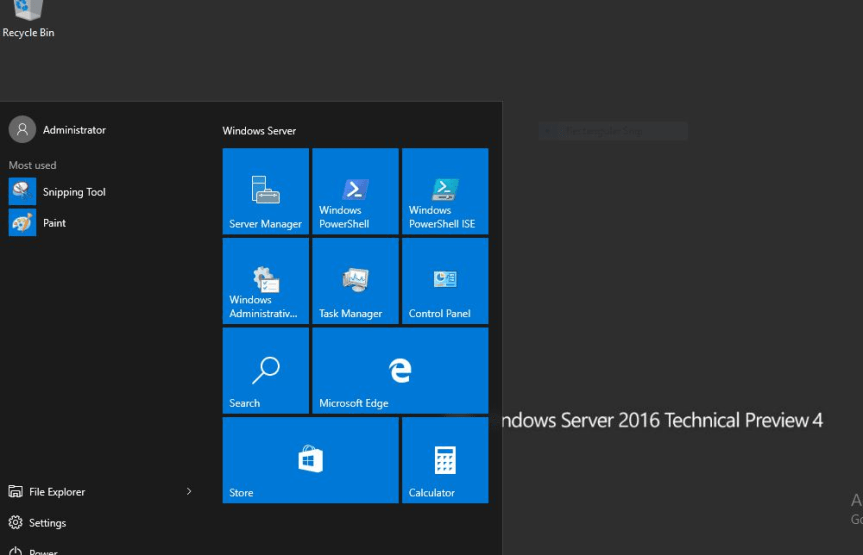
- Open server manager as shown in the screenshot below and click on “Manage”
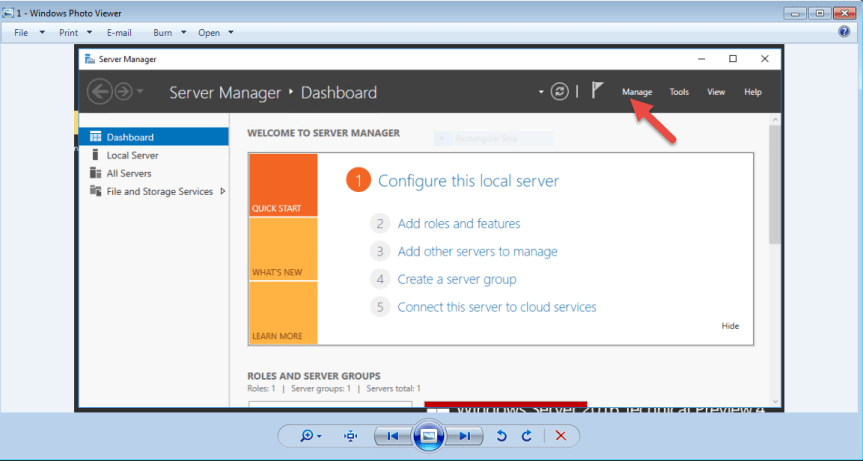
2. Once you click on “Manage” you will see an option which says ” Add roles and features “ , choose that and click next .You can also click on ” Add roles and features” which you see on the server manager pane above to add the necessary roles and features.
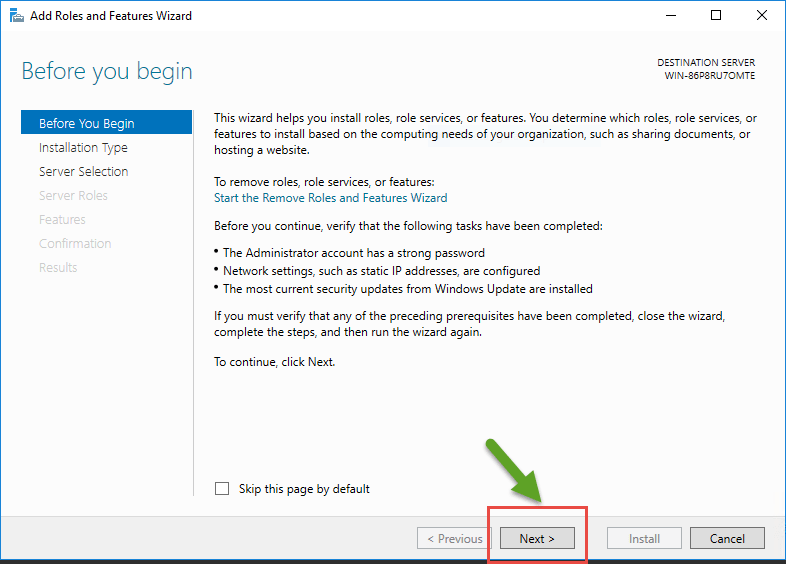
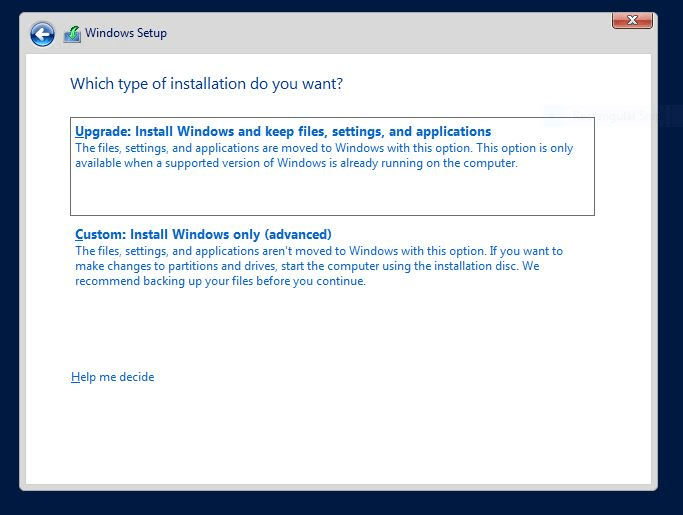
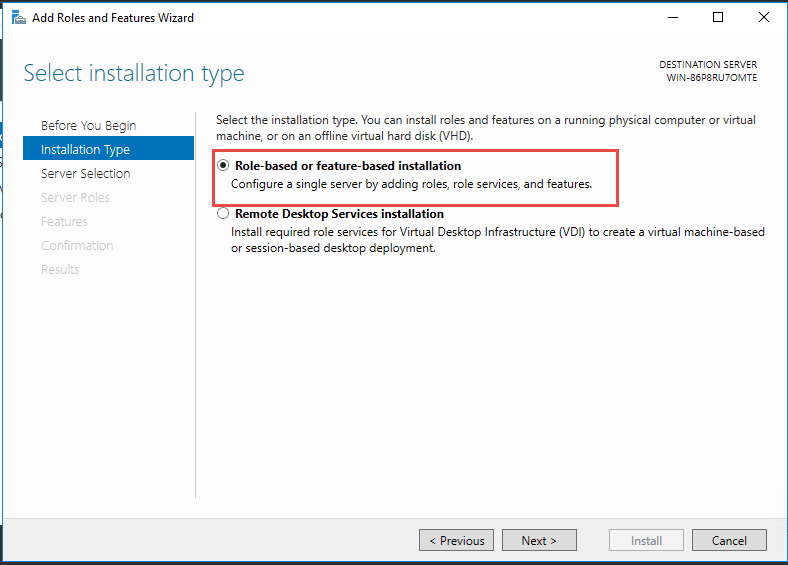
3. Choose “Role based or feature-based installation “option and click “Next “as shown in the screen below.
Note:
- Role-based or feature-based installation: This installation type installs or removes the various roles and features included with Windows 8 Server operating system editions.
- Remote Desktop Services scenario-based installation: This new installation type enables the installation and configuration of Remote Desktop Services.
4. On the next screen which says “Select destination server “, choose the appropriate server on which you need to install the ADDS role. In this scenario you can see the server being highlighted below on which I would be installing the ADDS role.
Note:
- Select a server from the server pool: Use this option to select a server from the server pool on the local computer. Confirm the destination by verifying the destination server in the upper right hand corner of the wizard.
- Select a virtual hard disk: Use this option to select a local or remote Windows 8 Server virtual hard disk file. Only virtual hard disks that contain a Windows 8 Server operating system are valid destinations. Blank virtual hard disks or hard disks that contain an operating system other than Windows 8 Server will fail.

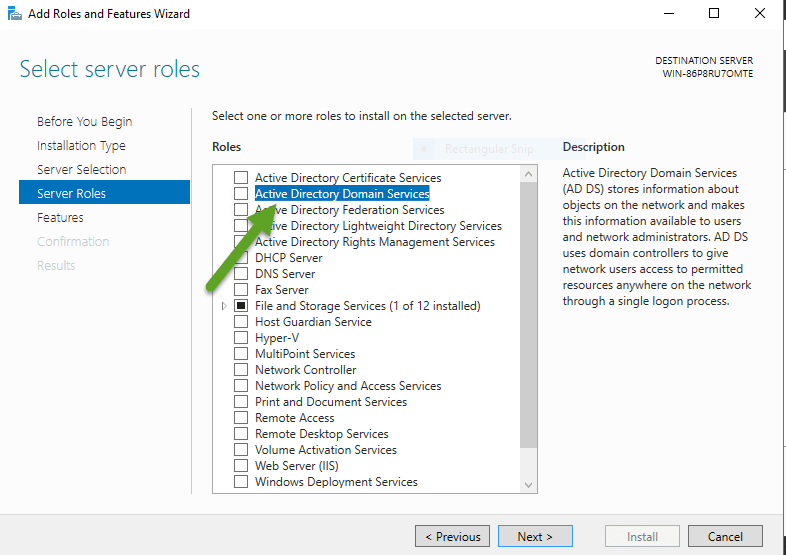
5. Now since we have selected the destination server, it’s time to go ahead and install the ADDS role on it, for that please check the screenshot below. On the sever roles pane, please check the checkbox for “ Active Directory Domain Services” and click “Next” as shown in the screenshot below .
6. Once done you will get a window which asks you to add the necessary features for “Active Directory Domain services” role , please go ahead and click on “ Add features” button so that it will add all the necessary features for ADDS.
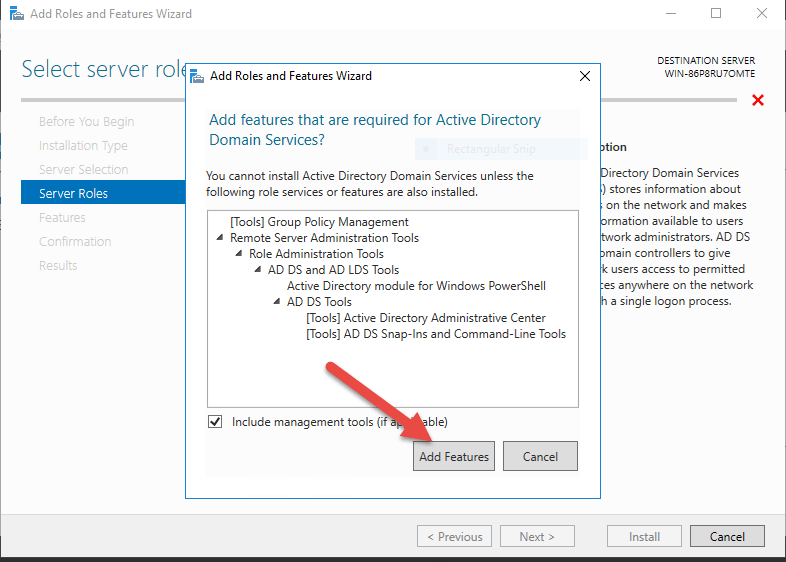
Note: The checkbox which says “Include management tools (if applicable) “option has to be chosen only when you need to include management tools as a part of adding the features.
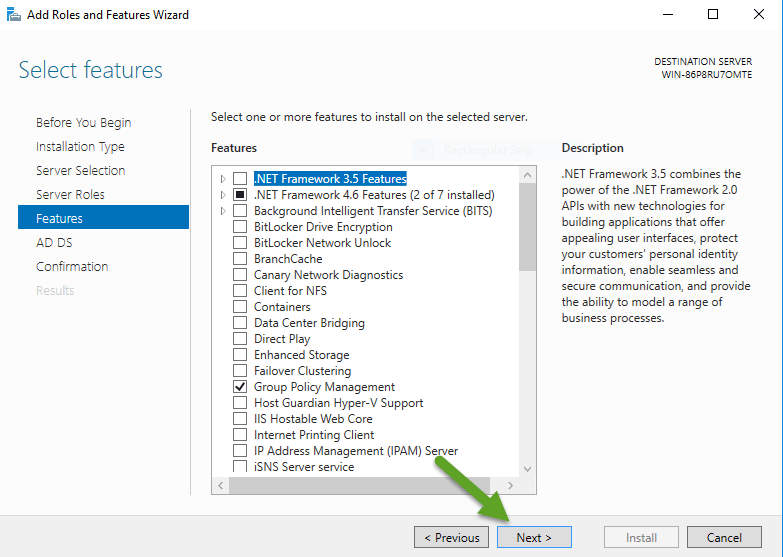
7. Once you’re done with adding the necessary features the next screen would ask you to add some other features if required, please go ahead and click “Next” as we have already added the necessary features in the previous screen.
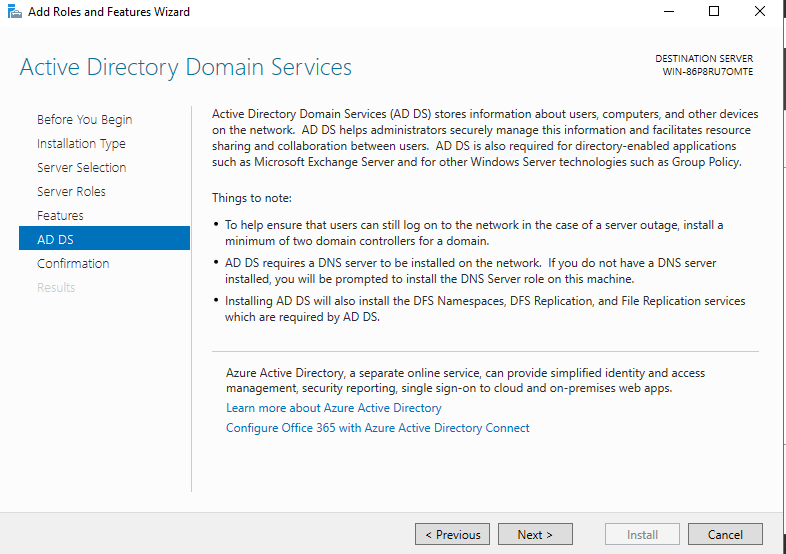
8. The next screen would give you an explanation on what ADDS is all about, please review it if interested and click “Next”.
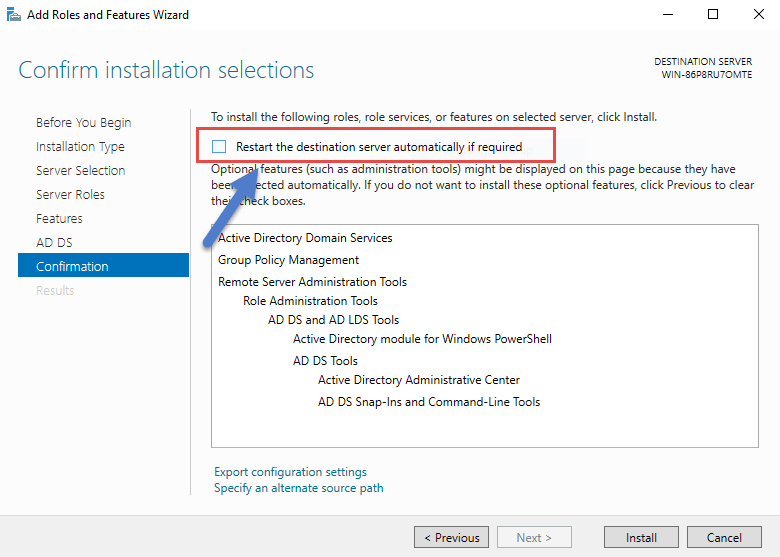
9. On the next screen, check the checkbox which says “Restart the destination server automatically if required “and click on “Install”.
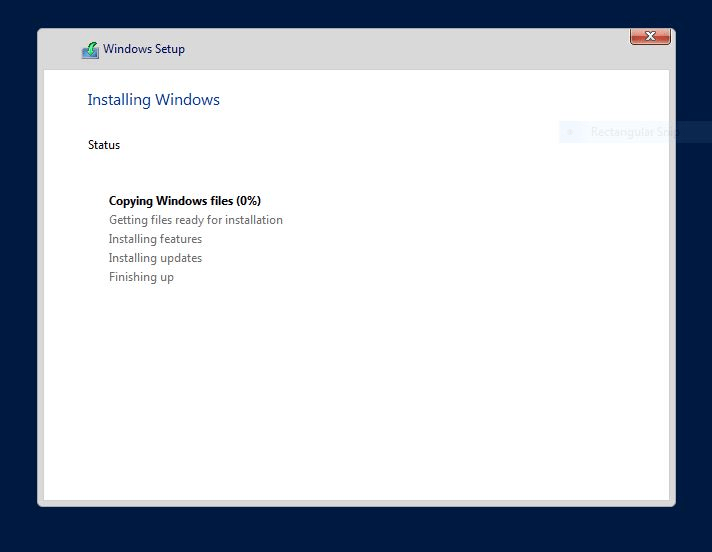
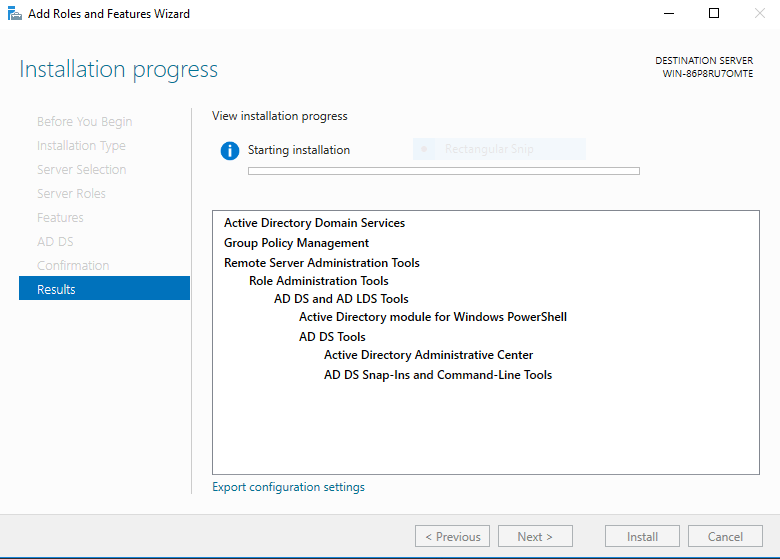
10. You can notice the Installation getting started on the next screen.
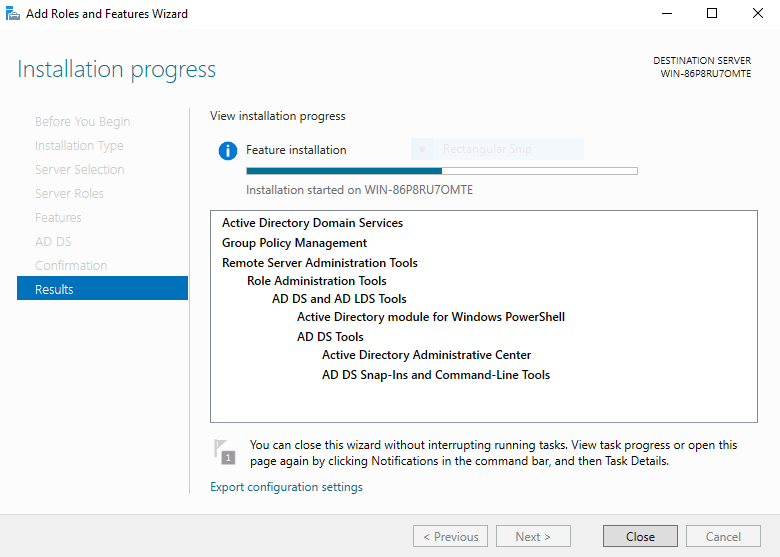
11. You can also notice the Installation progressing eventually as shown in the screen below.
12. Finally you will get the screen which says the installation is succeeded as shown in the screenshot below.
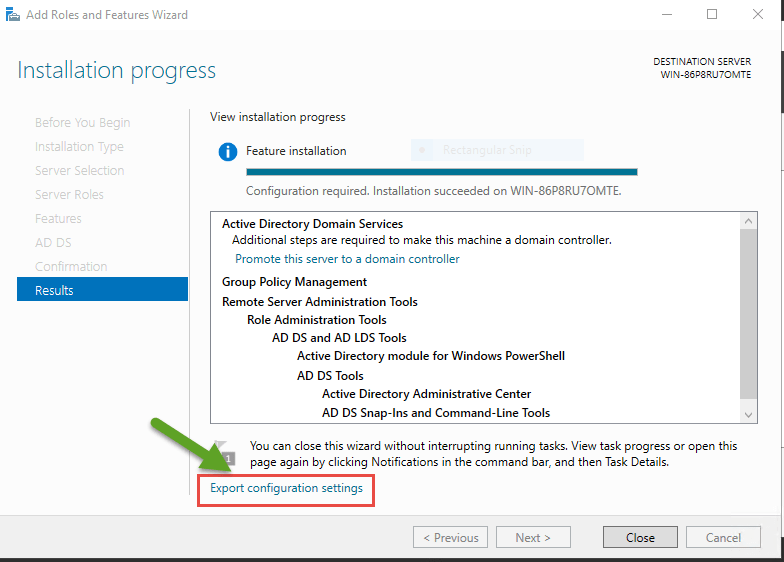
Note : You can click on “Export Configuration settings” option to export the settings to a notepad .The same configuration settings can be used for feature installations also .
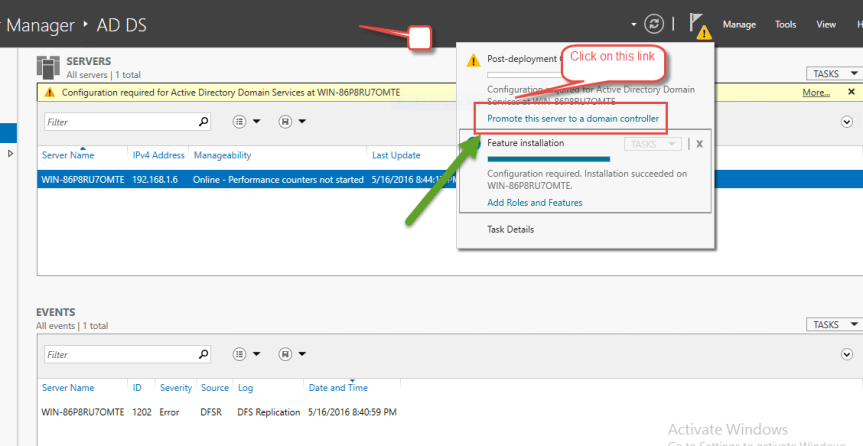
13. Once this is done, please click on close and then open server manager .You will see an option which says “Promote this server to a domain controller “on the top right corner of the screen. Please click on that.
14. Now on the next screen where it asks you specify the “root domain name” , please go ahead and entire your domain name .
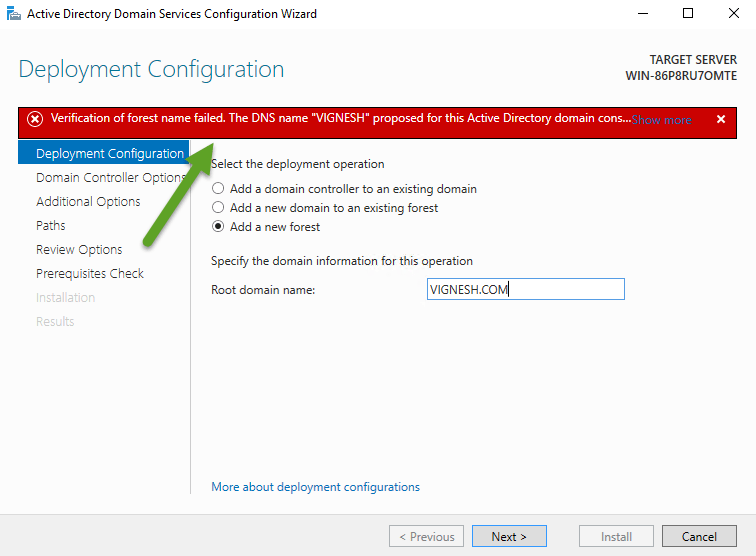
Things to note while entering the domain name: Make sure you’re entering the domain name which you own, if it’s a lab environment and you’re connected to the internet you need to specify unique domain names which is not being used by others. You can’t enter a domain name which is owned by someone or by any company. So please make sure you abide to these things while entering the domain name.
The error which you see in the above screen is because I didn’t enter the root domain name correctly .The root domain name should be entered in this format (i.e. “domain name”.COM) and by any chance if you don’t do that correctly you will end up noticing that error message.
15. So please ensure that you’re entering the domain name correctly in the correct format and click on next, this will take you to the next screen which asks you to specify the domain controller options.
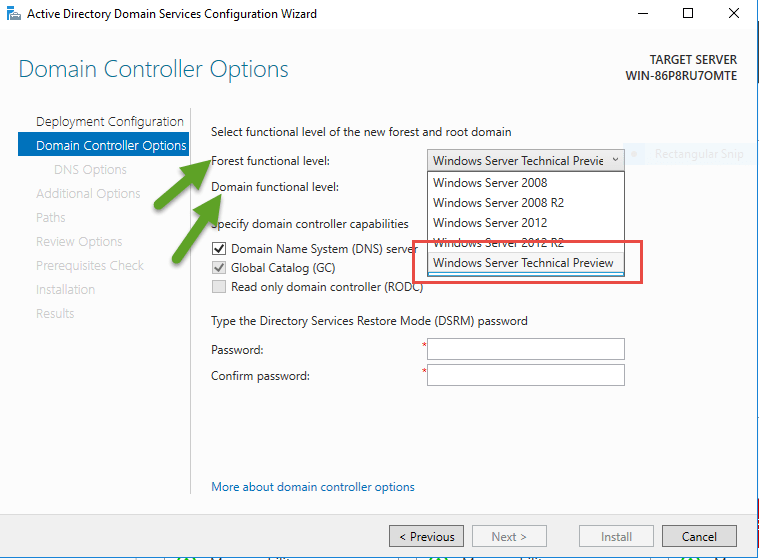
Now, on the above screen you will see an option which says “forest functional level” and “domain functional level”. Now it’s very important that you choose these options very carefully or else you will end up in a scenario where you may not be able to add additional domain controllers to the server.
So let me try explaining what is a forest functional level and domain functional level, Functional levels determine the available Active Directory Domain Services (AD DS) domain or forest capabilities. They also determine which Windows Server operating systems you can run on domain controllers in the domain or forest. However, functional levels do not affect which operating systems you can run on workstations and member servers that are joined to the domain or forest.
When you deploy AD DS, set the domain and forest functional levels to the highest value that your environment can support. This way, you can use as many AD DS features as possible. For example, if you are sure that you will never add domain controllers that run Windows Server 2003 to the domain or forest, select the Windows Server 2008 functional level during the deployment process. However, if you might retain or add domain controllers that run Windows Server 2003, select the Windows Server 2003 functional level.
When you deploy a new forest, you are prompted to set the forest functional level and then set the domain functional level. You cannot set the domain functional level to a value that is lower than the forest functional level. For example, if you set the forest functional level to Windows Server 2008, you can set the domain functional level only to Windows Server 2008. In this case, the Windows 2000 native and Windows Server 2003 domain functional level values are not available. In addition, all domains that you subsequently add to that forest have the Windows Server 2008 domain functional level by default.
You can set the domain functional level to a value that is higher than the forest functional level. For example, if the forest functional level is Windows Server 2003, you can set the domain functional level to Windows Server 2003or higher.
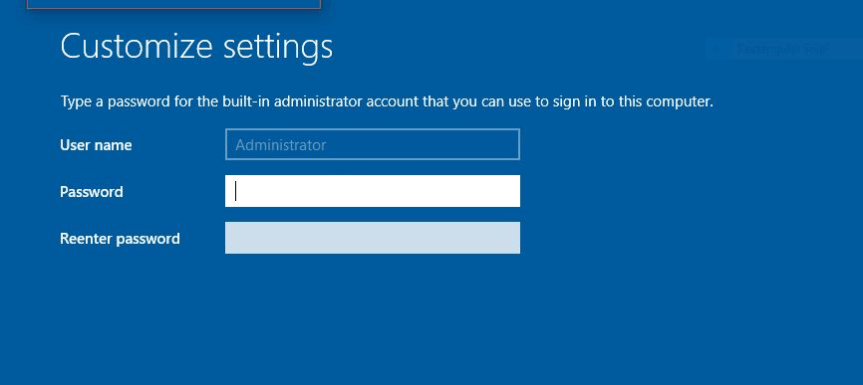
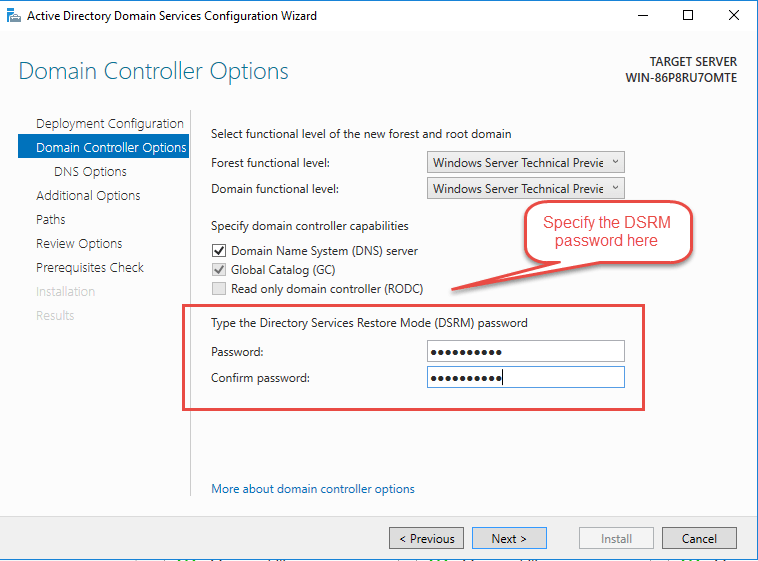
16. So with that being said , I’m choosing the option as “ Windows server 2016 technical preview “ under forest function level and the same for domain functional level too and I’m clicking next. Also make sure you’re specifying the “Directory services restore mode “password also .This password has to be used for safe mode boot option in Windows servers which are acting as domain controllers. Using this password you can repair/recover and restore an Active Directory database.
17. On the next screen check the appropriate DNS options and click next.

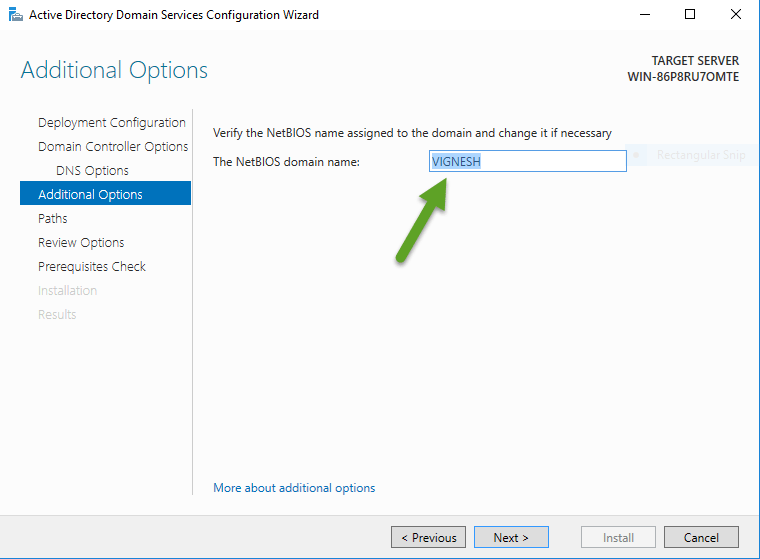
18. Enter the “NetBIOS” name in the next screen and click next.
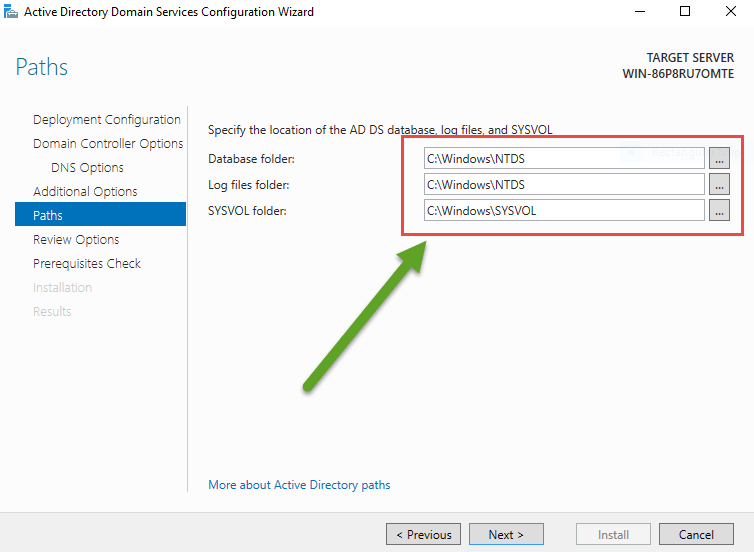
19. On the next screen, you will be asked to specify the AD database path where the “ NTDS.dit” file resides . Also you need to specify the log files path and the path for SYSVOL folder. Ideally the best practice is to keep this as it is .However, you can change the path as per your requirement.
20. Finally, you will get a screen where you can review the settings you made before clicking next.
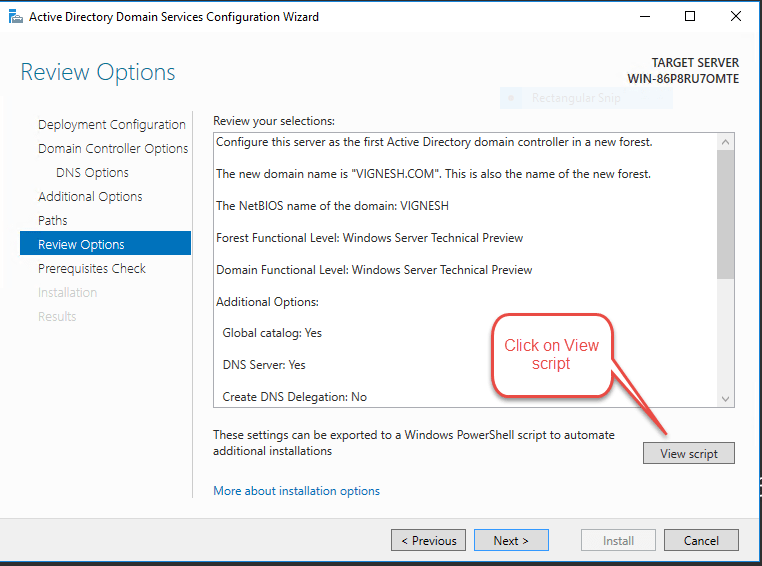
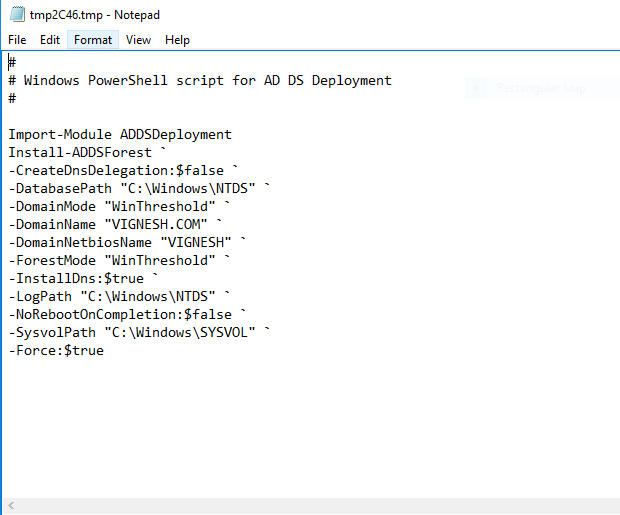
21. You can click on the “View script “option, to view the script for the settings that you have configured. You can use that script for future configurations also if required. This is the screen you will get if you click on the “ View script “ option which displays the PowerShell command for the settings that we have configured .
22. Once you’ve verified that and clicked next, you will get a screen as shown below which will run the prerequisites check.

23. Once the prerequisite check is done, you will get a screen as shown below confirming that all the prerequisite checks have passed successfully.
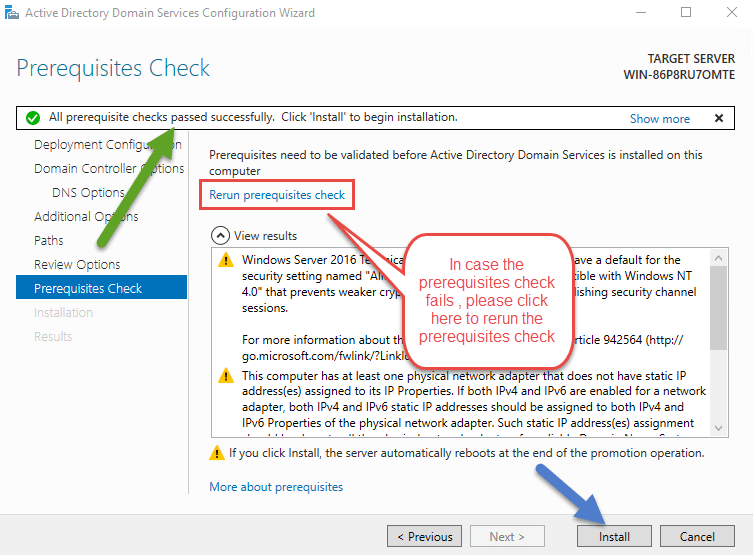
24. Once you have verified that the prerequisites check is completed, go ahead and click on the install button, this will start installing ADDS.
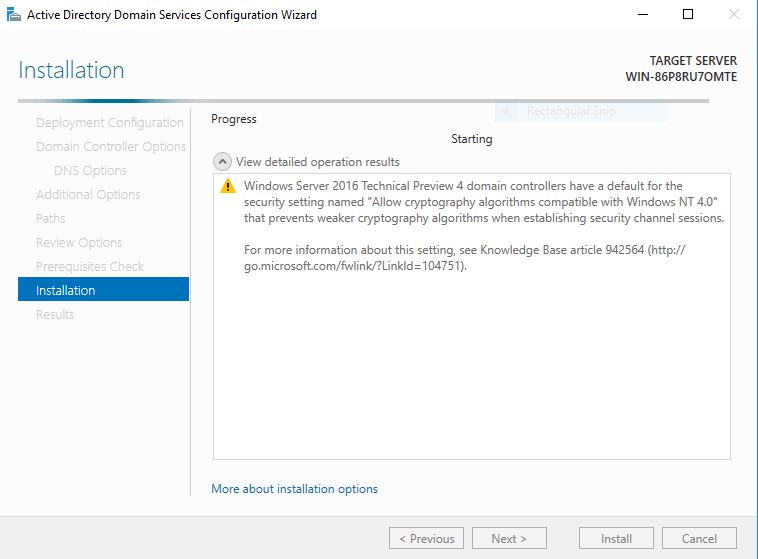
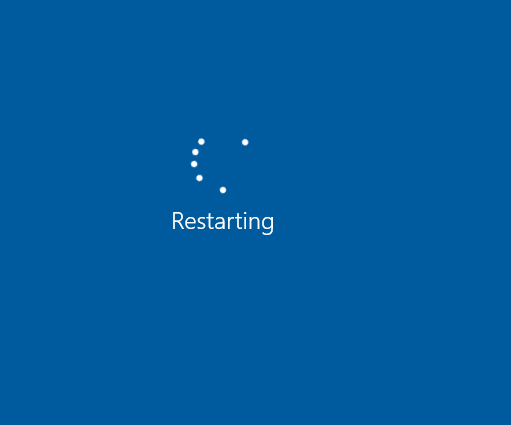
25. Please be patient for few minutes as the installation will take some time .Once the installation is completed you server will be restarted.
26. Finally, you can verify the ADDS installation in your server by opening the Active directory console.
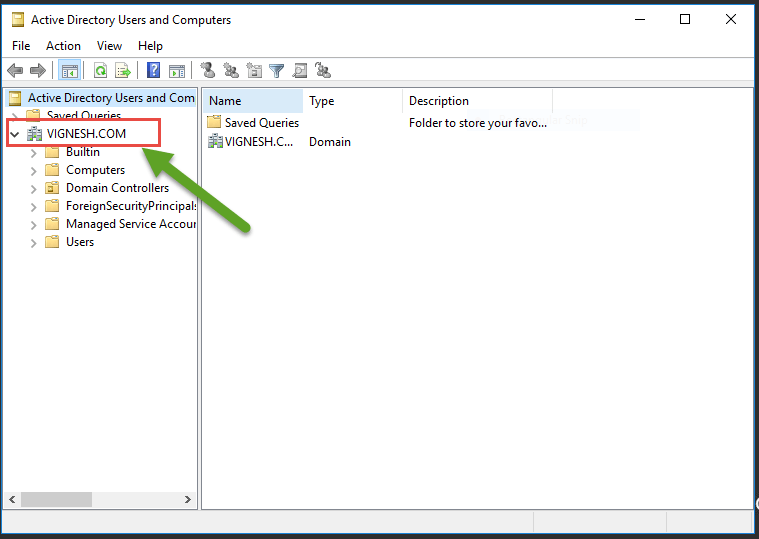
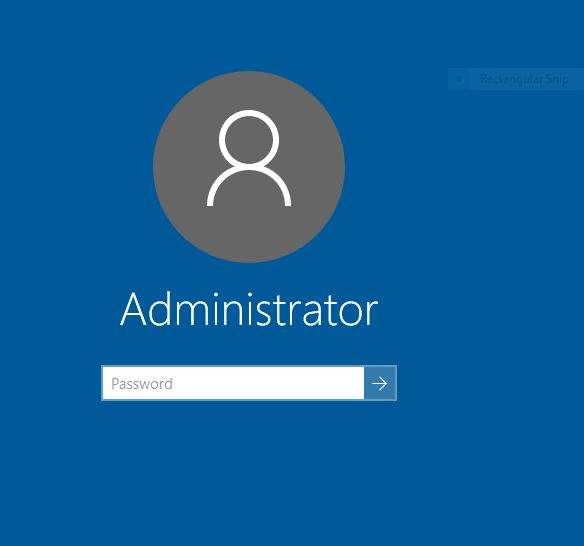
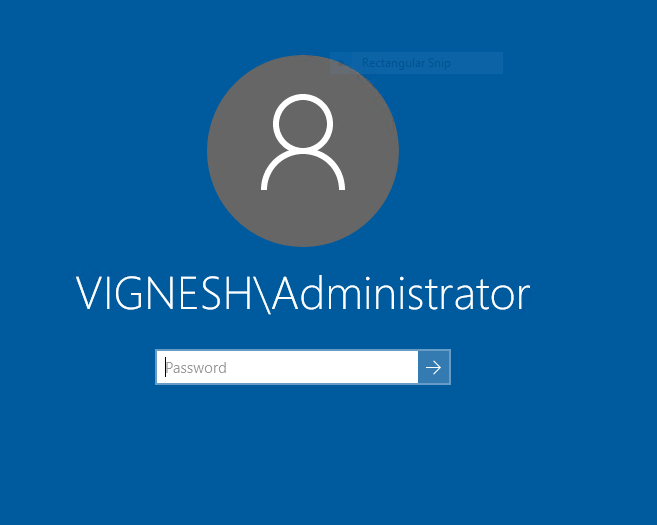
27. You can see the screen below where I’m logging into the server using the domain credentials.
So this concluded the ADDS installation steps in Windows Server 2016 Technical Preview 4 .Thanks for reading this post .Have a good one .