This post is on a new service which was introduced by Microsoft couple of months back called as “Office 365 Secure Score “. If you’ve ever wondered how secure your Office 365 tenant really is, then it’s time about time now to stop wondering because we have “Secure Score “now to take care of that. So, what’s this new service called as Office 365 secure score? What does it do? How do I make use of it? …. Well, I’m going to answer all those questions that you have in your mind about Office 365 secure score in this article and you will also learn about how to make use of this service to enhance your business with Office 365. Alright, let’s get started …. Shall we?
What is Office 365 secure score?
This is how Microsoft defines Office 365 secure score … “The Secure Score is a security analytics tool that will help you understand what you have done to reduce the risk to your data in Office 365, and show you what you can do to further reduce that risk “. To put it in very simple words, it’s a tool that runs on the background and checks the security standards of all the service used by you as an organization (i.e. SharePoint Online, Exchange Online, Skype for Business Online, Azure AD etc. …) and assigns a credit score.
What’ the idea behind Office 365 secure score?
The approach by Microsoft to this experience was very simple. First, they created a full inventory of all the security configurations and behaviors that customers can do to mitigate risks to their data in Office 365 (there are about 77 such things in total). Then, they evaluated the extent to which each of those controls mitigated a specific set of risks and awarded the control some points. More points means a more effective control for that risk. Lastly, they measured the extent to which the service has adopted the recommended controls, add up the points, and present it as a single score.
How to use Office 365 secure score?
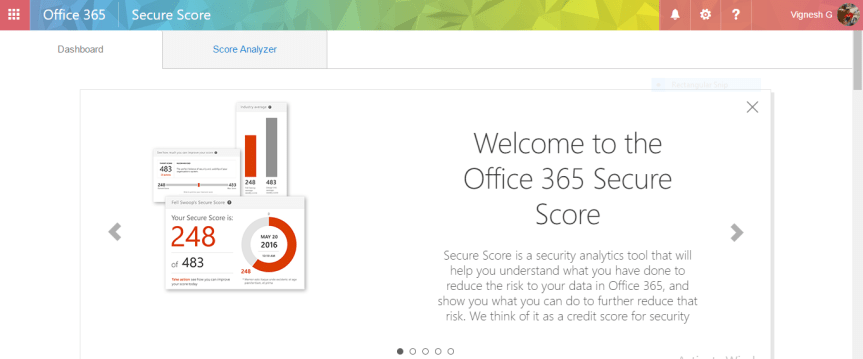
- The first thing you would notice once you login to the secure score portal is the welcome screen (check the screenshot below) which gives you a small definition about Office 365 secure score. In the below mentioned screenshot I’ve logged into the secure score portal of my Office 365 tenant by accessing this URL (i.e. https://securescore.office.com/ ) and I get this screen which gives me a welcome message about Office 365 secure score.
Note: If you already logged into your tenant you can directly access the Secure Score URL which I mentioned above and it will allow you inside the portal without prompting for your credentials once again.
2. Once you read all the welcome messages about Secure score you will get two different tabs as shown in the image below.
i)Dashboard.
ii )Score Analyzer.
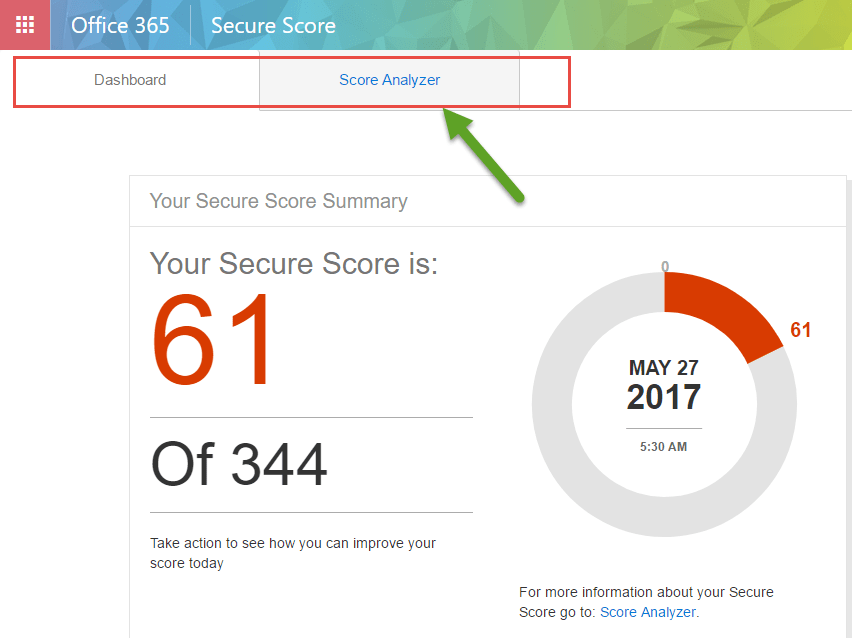
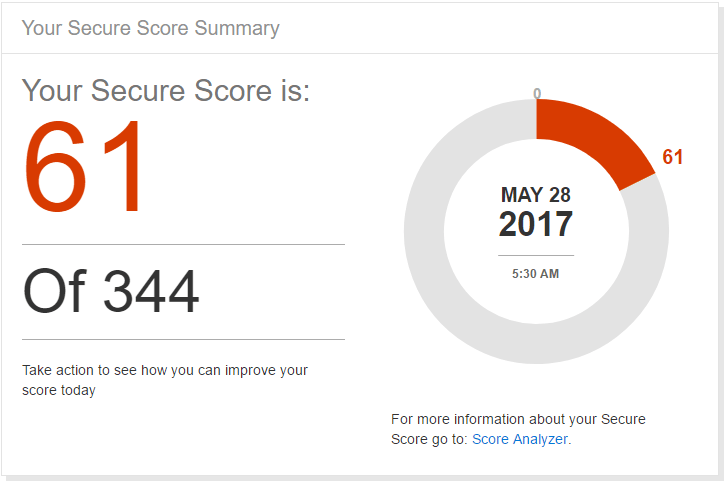
3. The first tab which says “Dashboard” is where you get to see the secure score summary. This panel gives you your current Secure Score, and the total number of points that are available to you, given your subscription level, the date that your score was measured, as well as a simple pie chart of your score. The denominator of your score is not intended to be a goal number to achieve. The full set of controls includes several that are very aggressive and will potentially have an adverse impact on your users’ productivity. Your goal should be to optimize your action to take every possible risk mitigating action while preserving your users’ productivity. The below mentioned screenshot depicts the secure score summary of my Office 365 tenant where I’ve scored 61 out of 344 as on May 27, 2017.
4. The next section on the “Dashboard” tab after the “Secure score summary” section would be the section which tells how to improve your score. It gives you the targeted score that you can achieve for your tenant and lists out the action items to improve your score. You can make use of the slider to preview your improved score as shown in the image below.
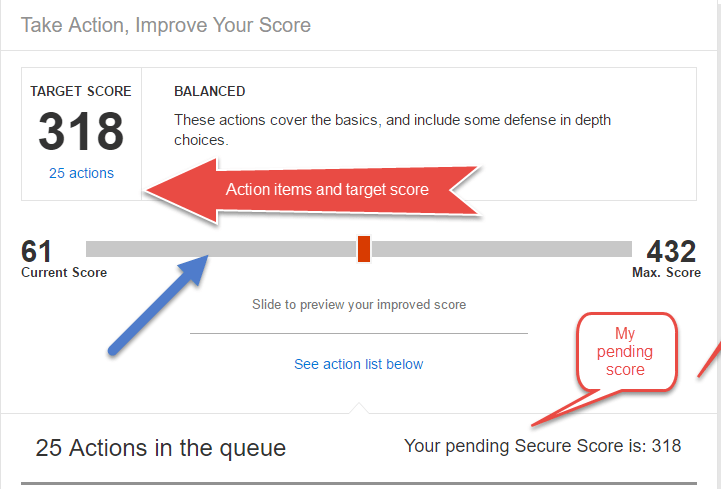
5. The next section will list out all the pending action items that I’m supposed to complete to achieve the maximum score.
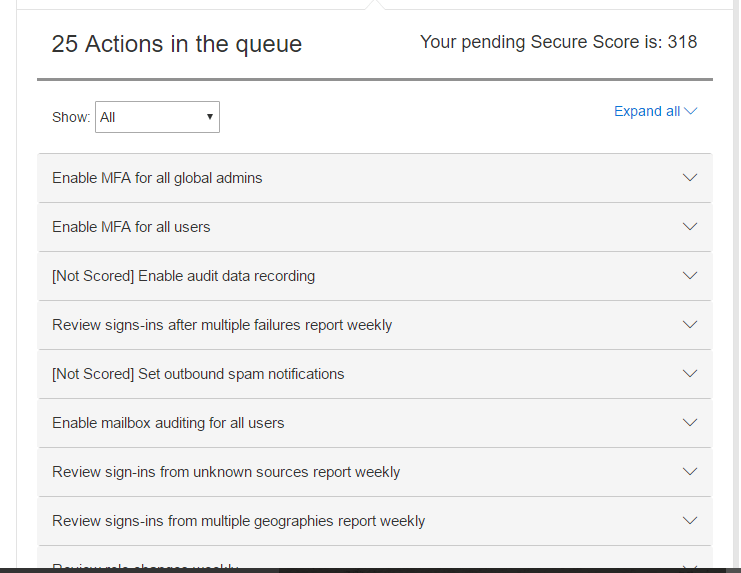
6. Now, let’s look at few pending action items to see what it means and how it would impact my Secure score in Office 365.
i) Designate less than 5 global admins:
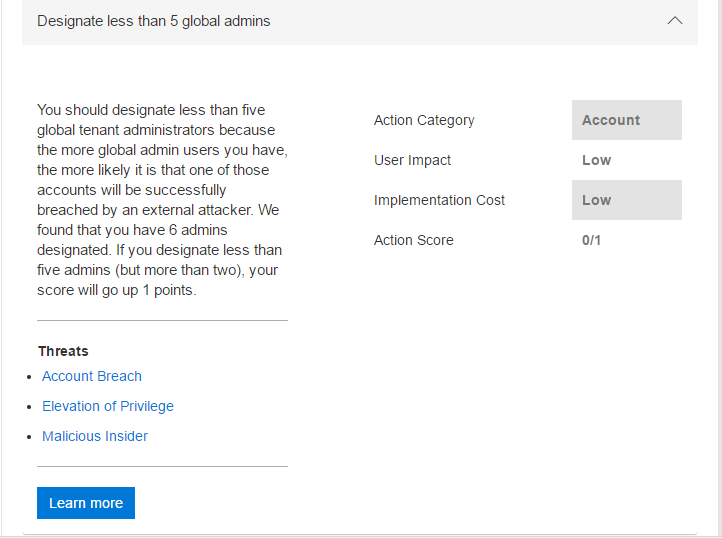
This one says that I should designate less than 5 global administrators for Office 365 tenant and in my case, I’ve breached it by making it as 6. Hence, it’ asking me to correct it and it also gives me an overview about the score I would get by doing so.
ii) Enable MFA for all global admins:
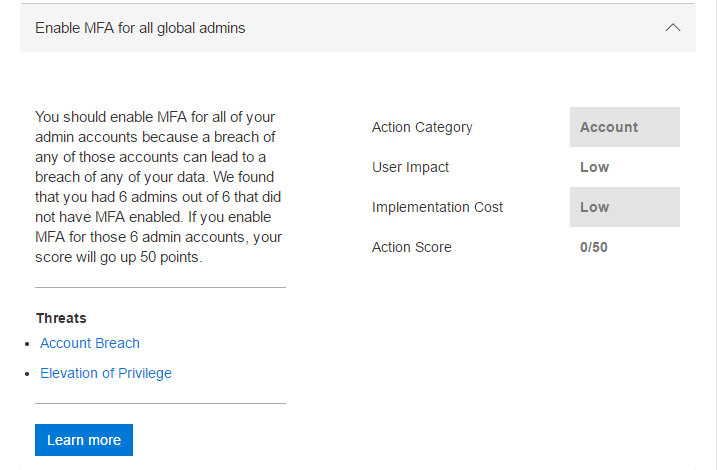
This one says that I have to enable Multi factor authentication for all my 6 global admin accounts as none of accounts have that enabled and this is considered to be a security breach. It also tells me that I can achieve a score of 50 by doing so.
7) The next section under the “Dashboard” tab is the “Risk Assessment “section which gives me an overview about the top threats in my tenant. It is very important that Office 365 global administrators should read this and understand the risks they are mitigating every time they take an action.
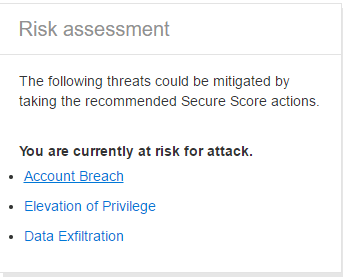
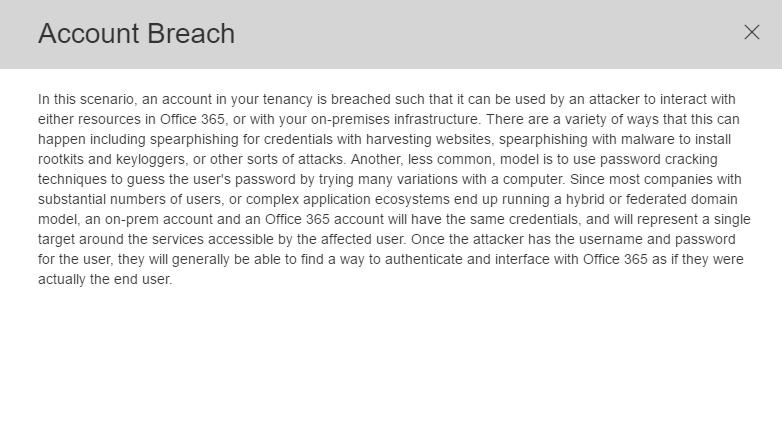
Let’s look at the “Account breach” scenario here and see the details about the risk.
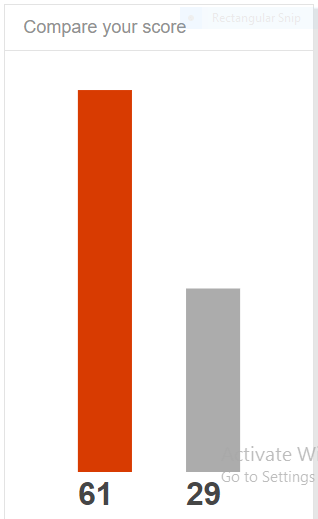
 Compare your score:
The Office 365 Average Secure Score is calculated from every Office 365 customer’s Secure Score. You can use this section to understand how your score stacks up against the average score.
Note: The Average Secure Score only includes the numerator of the score, not the denominator. So, the average points may be higher than you can achieve because there are points in controls associated with services that you have not purchased (meaning , you might be using a different plan such as E3 whereas other customers might be using E5 or other plans) .
Alright, now let’s look at the “Score Analyzer” tab in the Secure Score portal.
Score Analyzer:
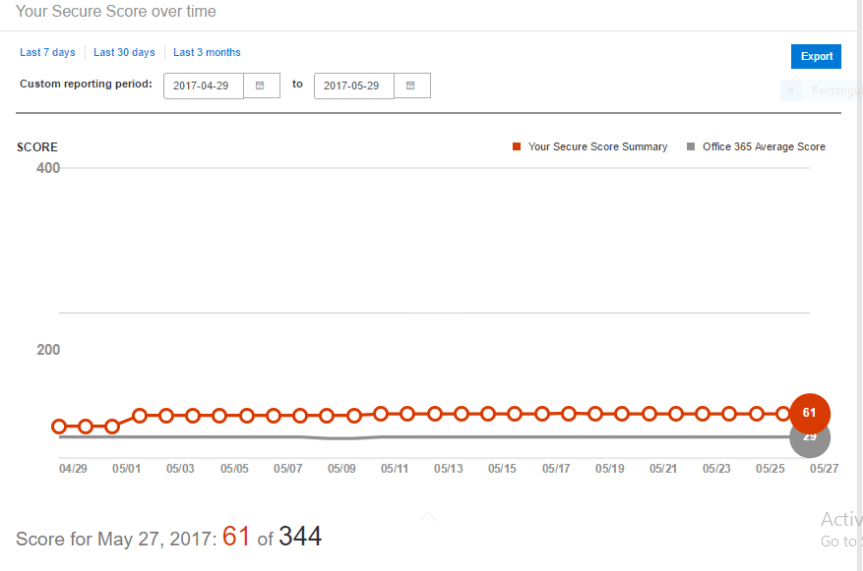
As of now, it’s only the global administrators who have access to the “Secure Score “portal and in the future, it would be made available to other administrators as well such as SharePoint Online administrator, Exchange Online administrator & Skype for Business administrator. However, in the interim you can use the “Score Analyzer “tab to export the secure score results and share it with your executives or stakeholders or other administrators (i.e. SharePoint Online, Exchange Online etc.) so that they’re aware of the progress that’s made on risk mitigation in Office 365. The Score Analyzer experience allows you to review a line graph of your score over time, to export the audit of your control measurements for the selected day to either a PDF or a CSV, and to review what controls you have earned points for, and which ones you could act on.
- The below mentioned image depicts the “Score Analyzer” tab of my secure score portal.
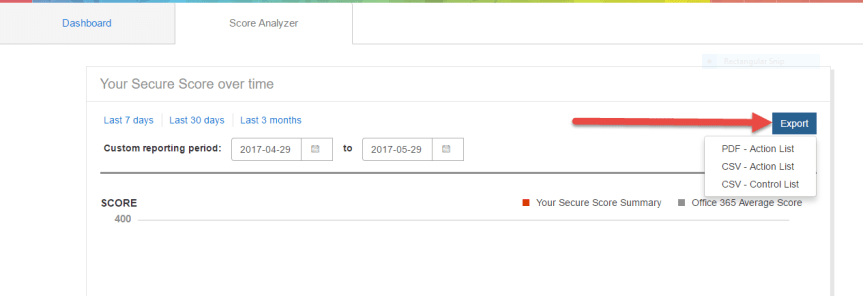
2. I can make use of the “Export “button on the top right corner to export these results in PDF & CSV format.
3. It also gives you an overview of all the “Complete “and “Incomplete” actions and the scores associated to those action items as shown in the image below.
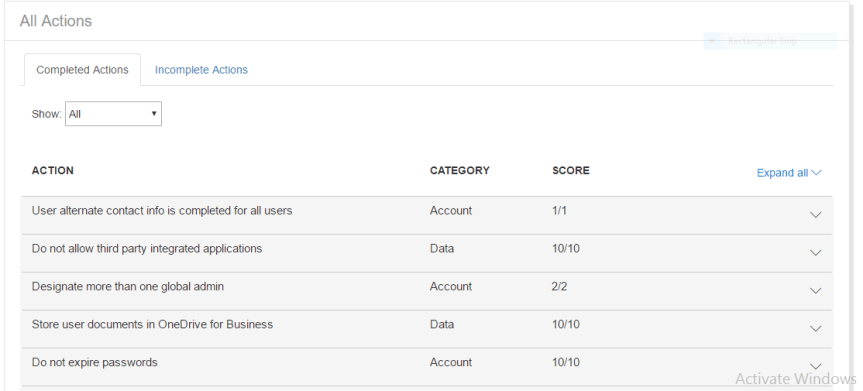
4 .The “Complete “and “Incomplete” actions are classified based on three different categories as you see below (i.e. Account, Data & Device)
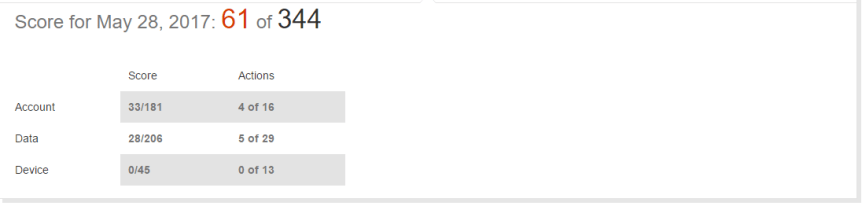
5. Finally, I can make use of the “Export “button which I mentioned above to export the results to a PDF/CSV Please check the image below to see a sample report.

So finally, to conclude, the Secure Score is indeed a great tool to keep your Office 365 tenant as secure as possible and at the same time you need to be aware that the Secure Score does not express an absolute measure of how likely you are to get breached. It expresses the extent to which you have adopted controls which can offset the risk of being breached. No service can guarantee that you will not be breached, and the Secure Score should not be interpreted as a guarantee in any way.
Resources to know in detail about Secure Score in Office 365:
Microsoft Mechanics video on Office 365 Secure Score: https://youtu.be/h__nxWlm5Nc
Office 365 Secure Score API: https://blogs.technet.microsoft.com/office365security/using-the-office-365-secure-score-api/
You can also check my Webinar recording on Office 365 where I’ve shown a small demo on Office 365 secure score. Here’s the link to that: https://youtu.be/HYcfXWN30O0
Thanks for reading this post …. Good luck with Secure Score in Office 365!!!


 Yep you read it correctly, it’s not Microsoft Office 365 and its Microsoft 365. Well by saying so I didn’t mean that Microsoft Office 365 is going away or it’s getting renamed as Microsoft 365. This is a new service which was introduced by Satya Nadella 2 days back on
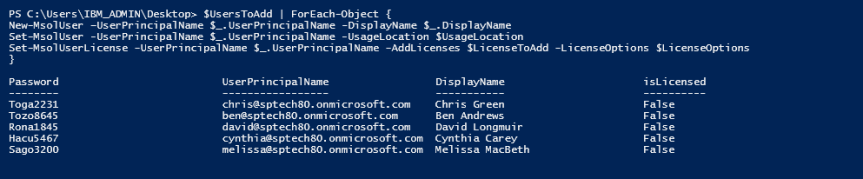
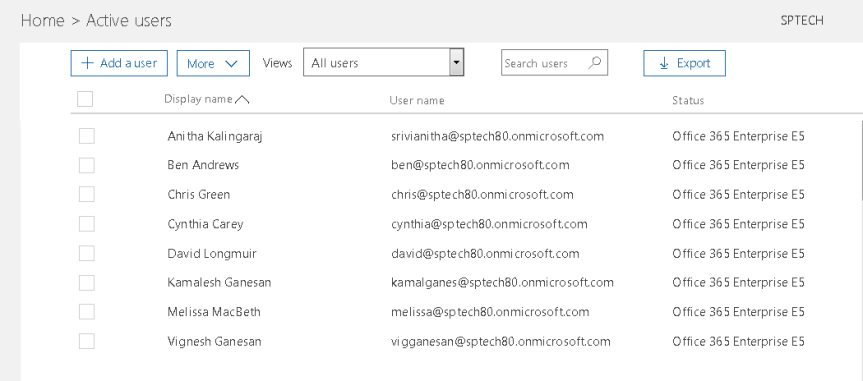
 Office 365 is a SaaS platform which is being used by many organizations these days and it becomes quite hard for IT administrators to on-board their users to Office 365 manually .Of course , this may not be the case when your user identities gets synced to Azure AD from on-premises AD using AAD connect tool .However, if you’re one of the organizations who totally buried all your IT infrastructure implementation and decided to go with a Cloud implementation completely then possibilities are such that you as an IT administrator should take care of on-boarding your users to Azure AD .As we all know , this is indeed quite a time consuming task if we have to do it manually and then assign the appropriate licenses to all the users . So, to surpass all those manual effort, I’ve put together this PowerShell script which will do the magic for you. Alright, let’s get into the details ….
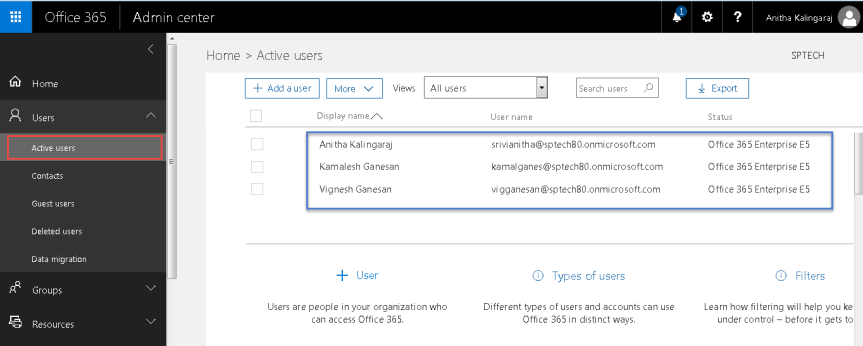


 “Customer Lock box” –This terminology was something new to me until I heard it at Microsoft Tech Summit this year .There was one of these sessions which I was attending on Office 365 and the speaker was talking about this feature .Sadly only few folks in the room were aware of it and I was one among those folks who haven’t heard that terminology before.
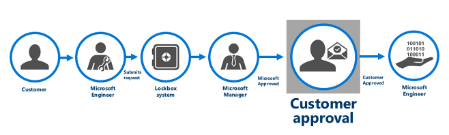
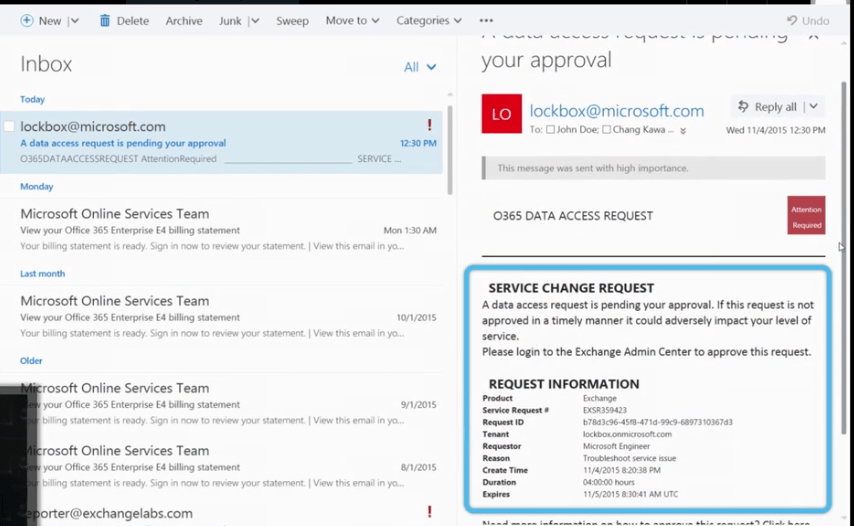

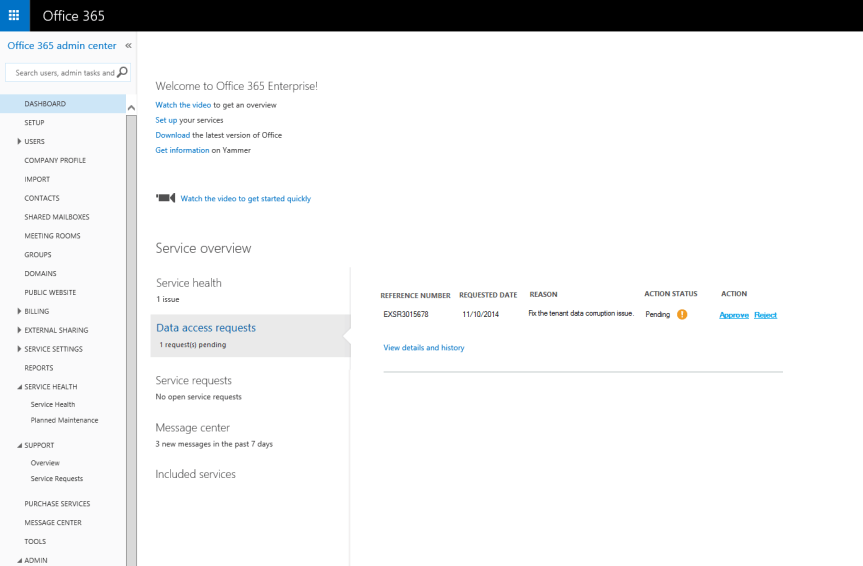

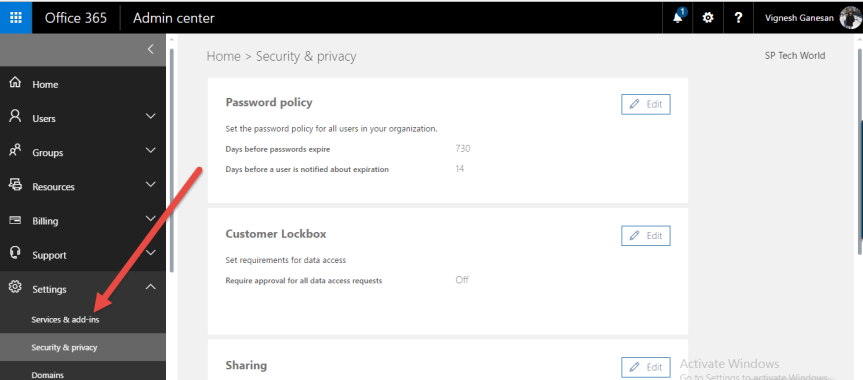
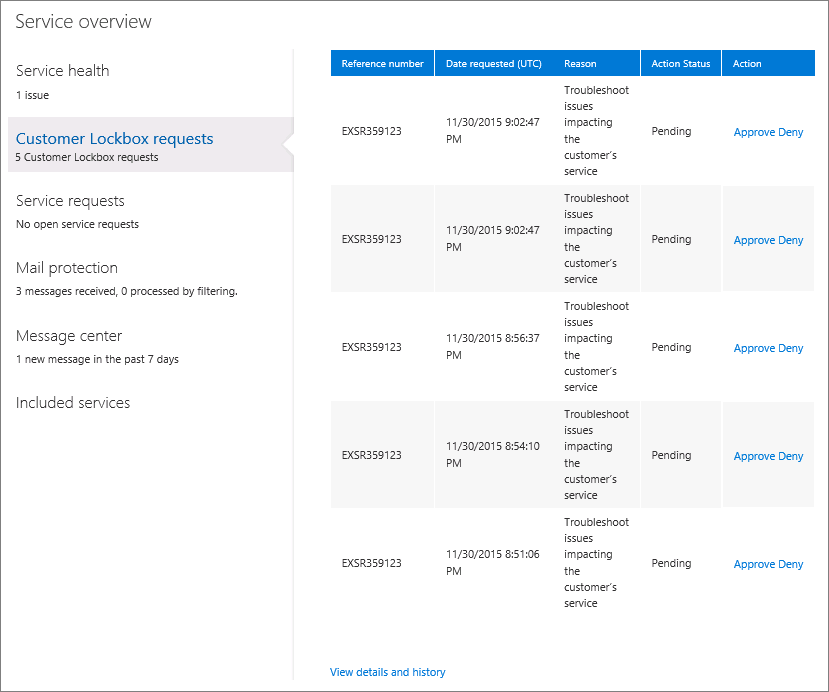
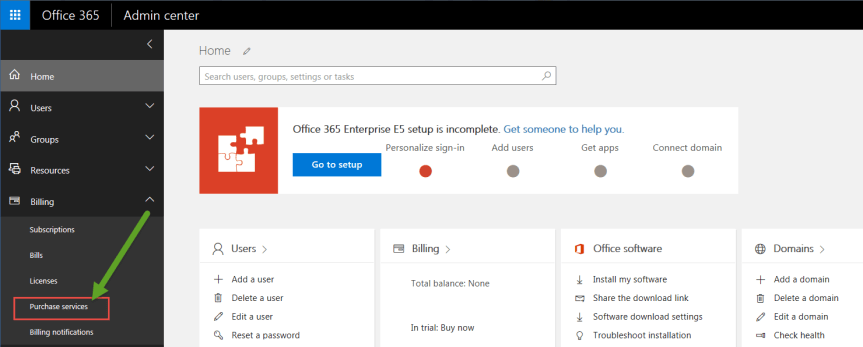
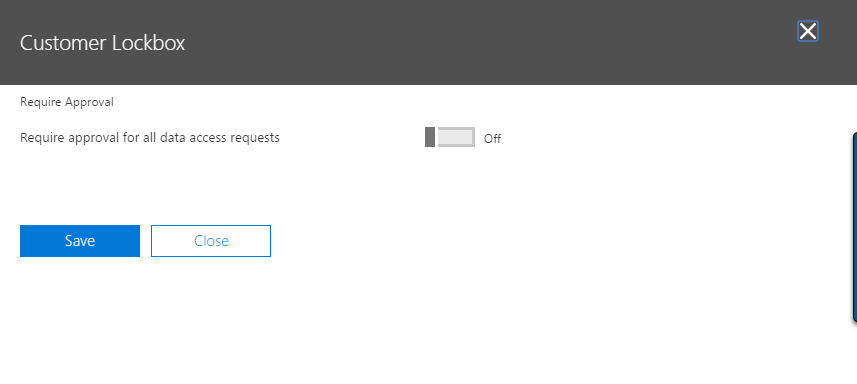 Approve or deny a Customer Lock box request in the Office 365 admin center: