So this post is to explain how SharePoint server licensing works. To be honest I often used to stumble around trying to understand how this entire thing works and after doing a lot of research in the internet I was able to understand how the entire licensing part works and hence I wanted to write an article on that hoping that it would help you all to have a better understanding about SharePoint Server licensing.
With that being said, I’ll be discussing about SharePoint server licensing in 2013 and Office 365 and how things are expected to change in SharePoint server 2016 as well. So before we get started let me go ahead and define certain terminologies that I’ll be using often in this post so that you can have a better understanding about those terms when I’m using that in this post later.
Internal Users: Users who are the licensee’s or its affiliates’ employees and on-site agents and contractors (i.e. Users who are present in your domain and have an account in AD)
External Users: Users who are not the licensee’s or its affiliates’ employees or on-site agents or contractors (i.e. Users who are not present in your domain and don’t have an account in AD).
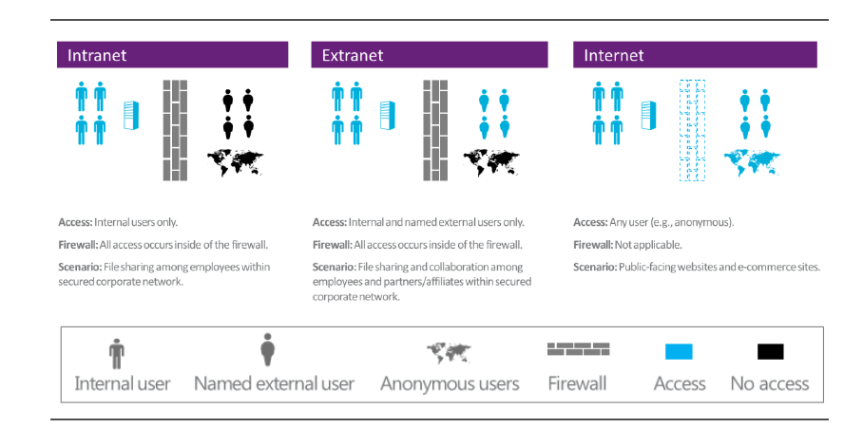
Intranet: Website hosting content, information, or software that is accessible inside the firewall to internal users only (i.e. Within the company’s firewall).
Extranet: Website hosting content, information, or software that is accessible inside the firewall to internal users and named external users only.
Internet: Website hosting content, information, or software that is publicly accessible to all users (internal and external). (i.e. Outside the company’s firewall)
CAL: Client Access License.
Microsoft licenses SharePoint server 2013 using the Server/Client Access License licensing model. The Server/CAL licensing model requires both the server license on which it’s (i.e. SharePoint application) installed as well as the CALs for the users (or devices) that access the application. To be more clear you need license for each server on which SharePoint is installed and apart from that you also need licenses for the users (or devices) that access SharePoint. However, please note that the CAL requirements may vary based on user status and CALs are generally required for internal users to access all SharePoint server software. The only exception to this is, internal user access to Internet websites (public-facing websites such as e-commerce SharePoint sites) .In these cases, the SharePoint CAL requirement is waived. On the other hand, this is not the case for external users, you don’t need to purchase any extra license for external users and the server license by itself will take care of their access. Please note that there can be couple of ways to leverage access to external users to access SharePoint such as (Anonymous authentication, Forms-based authentication etc. …However, an external user who still has a user account in your AD won’t be considered as external as per SharePoint sever licensing model if he’s using his AD account to access SharePoint). So it’s very important to choose external users access carefully or else you might end up paying licenses for them as well.
I would also like to touch base on the “devices” part which I mentioned earlier so that you have an understanding about how that would have an impact on SharePoint licenses. Let’s consider a scenario where you’re accessing your SharePoint site from your workstation and at the same time you’re logged into the SharePoint site from your smartphone as well, then that’s two devices accessing the same site. SharePoint doesn’t consider that as a single license, its takes it as two different devices accessing the same site. This is where the device licenses come into picture. So it’s very important that you choose the correct licensing model.
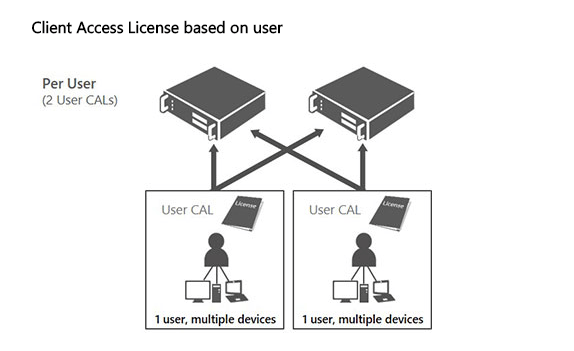
User CALs:
With the User CAL, you purchase a CAL for every user who accesses the server to use services such as file storage or printing, regardless of the number of devices they use for that access. Purchasing a User CAL might make more sense if your company’s employees need to have roaming access to the corporate network by using multiple devices, or from unknown devices, or if you simply have more devices than users in your organization.
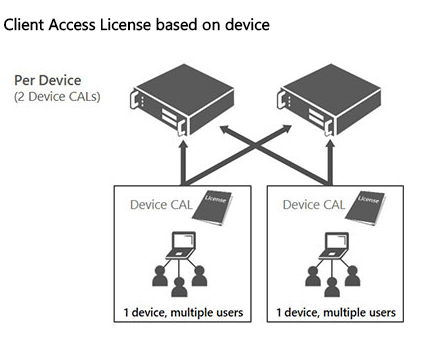
Device CALs:
With a Device CAL, you purchase a CAL for every device that accesses your server, regardless of the number of users who use that device to access the server. Device CALs may make more economic and administrative sense if your company has workers who share devices, for example, on different work shifts.
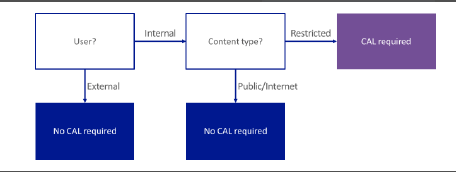
The following diagram depicted below illustrates whether a user needs a SharePoint CAL or not. “Restricted” refers to content stored inside the firewall for internal access and possibly limited, identified external user access. “Public/Internet” refers to content stored outside the firewall for broad, unrestricted access.
Now, let’s take a look at certain scenarios which can give us a better explanation on how the licensing part works for internal and external users.
Scenario A: Intranet
Description: Internal users accessing content, information, or applications inside the firewall through a local area network (LAN) or the Internet. No other users have access.
Example: A professional sports team sets up an intranet site that the manager, coach, and players access. It is also used for support staff such as the physiotherapist who is an on-site contractor rather than an employee, and for CAL requirements, an internal user. A news reporter trying to access the SharePoint Server site is denied access.
Licensing:
Server: One SharePoint Server 2013 license per running instance of the software.
Internal Users: One CAL/user.
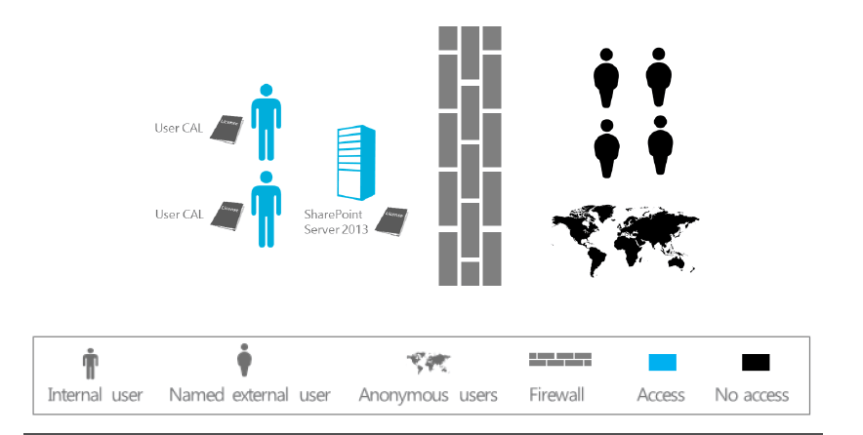
As shown in the above image, the internal users (the team’s managers, coach, players, and on-site therapist) each must be assigned a CAL. This requirement does not change if the same users are accessing the intranet site remotely from the team’s offices. Given that this is an intranet site, no external user access is permitted.
Scenario B: Extranet
Description: An organization extends access to otherwise restricted content inside the firewall to a limited number of identifiable external users.
Example: The Elm University publishes research papers that are available to specific educators from other universities (external users). This situation is an intranet plus extranet scenario.
Licensing:
Server: One SharePoint Server 2013 license per running instance of the software.
Internal Users: One CAL/user.
External Users: SharePoint CALS are not required; the server license permits external user access.
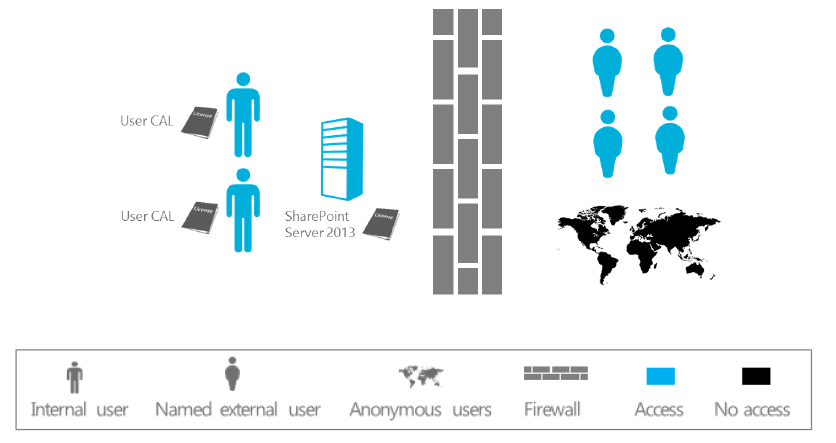
As shown in the above image, the internal users (the school’s faculty and staff) each must be assigned a SharePoint CAL. This requirement does not change if the same users access the site remotely while they are off-campus. The identifiable external users (educators from other universities) who are permitted to access otherwise restricted content inside the firewall do not require SharePoint CALs, because external user access is permitted under the server license. No other users are permitted to access the site.
Scenario C: Internet
Description: Internal users make content, information, and applications publicly available to users via the Internet (for example, on a public-facing company website). A mix of internal and external users anonymously accesses the site, including employees. No SharePoint CALs are required. External user access is permitted under the server license, and SharePoint CAL requirements for internal users are waived for access to content, information, and applications made publicly available via the Internet.
Licensing:
Server: One SharePoint Server 2013 license per running instance of the software.
Internal Users: CALs are not required.
External Users: CALs are not required.
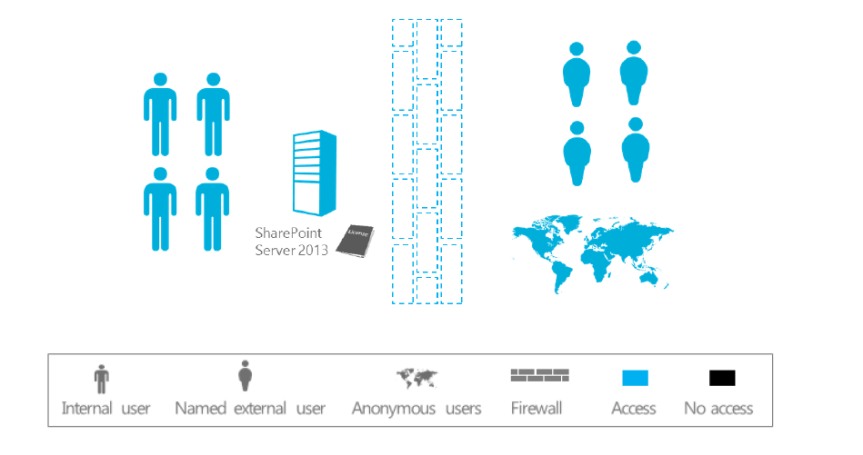
As shown in the above image, access is unrestricted. The only license required is the server license. SharePoint CALs are not required to access content, information, and applications made publicly available to users via the Internet (that is, not restricted to intranet or extranet scenarios). The same licensing applies for an e-commerce site where access is not strictly anonymous. Again, SharePoint CALs are not required to access content, information, and applications made publicly available to users via the Internet.
Licensing has been simplified in SharePoint 2013. SharePoint Server 2013 collapses internal and external use under a single licensing offering/model.
In addition to the points that we discussed above, there are certain classifications in the CAL that we need to be aware of as this will be very helpful in choosing the right version of SharePoint with the right features for your company. The CAL can be classified into two types 1. Standard CAL and 2. Enterprise CAL. Check the table below to know the difference between Standard and Enterprise CAL.
| Standard CAL |
You get features such as sites, communities, content and search in Standard CAL.
|
| Enterprise CAL |
You get features such as such as Access Services, InfoPath Services, Power View, PerformancePoint Services, Excel Services, Reporting services and Visio Services. |
SharePoint Standard CAL:
The Standard CAL delivers the core capabilities of SharePoint
Sites: a single infrastructure for all your business websites
Communities: an integrated collaboration platform
Content: enterprise content management (ECM) for the masses
Search: people and expertise search, visual previews, visual best bets
SharePoint Enterprise CAL:
The Enterprise CAL delivers the full capabilities of SharePoint
Sites: a single infrastructure for all your business websites
Communities: an integrated collaboration platform
Content: ECM for the masses
Search: standard search features plus entity extraction, video search, item recommendations
Business solutions (includes Access Services and InfoPath Services)
Business Intelligence for everyone (includes Power View, PerformancePoint Services, Excel Services, and Visio Services)
Check this link to have a detailed overview of all the features available in both the versions (i.e. Enterprise and Standard): _ http://www.fpweb.net/sharepoint-2013/compare-sharepoint-server-standard-enterprise/
Alright, I guess we have talked enough about SharePoint Server 2013 licensing, now let’s a look on how things are expected to change in SharePoint 2016.
SharePoint Server 2016 licensing:
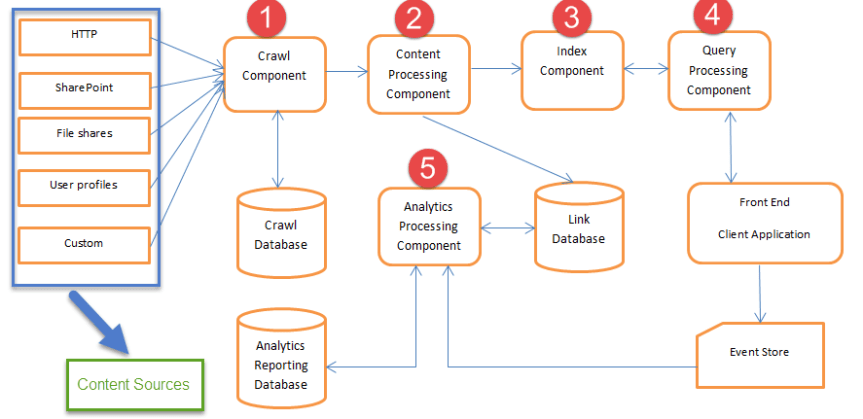
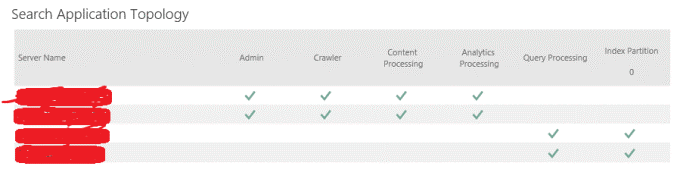
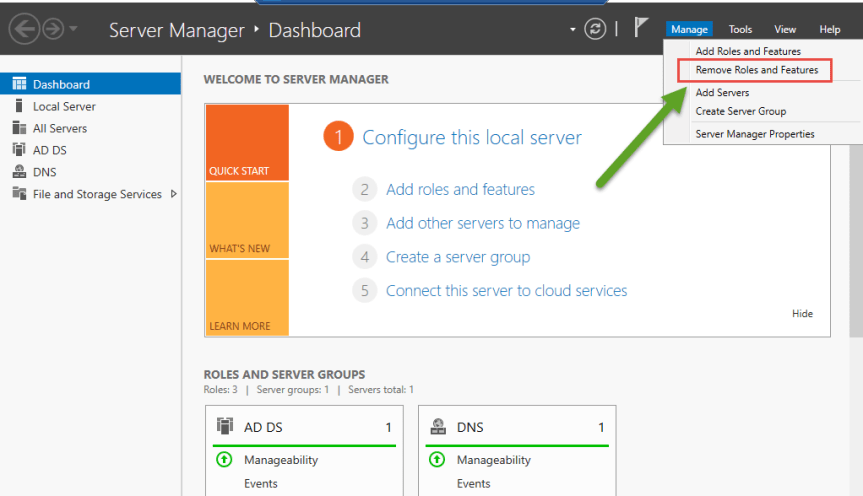
For the most part the licensing is expected to remain the same in SharePoint server 2016 as well. You have the same server CAL license and user (or devices) licenses in SharePoint Server 2016 as well and this hasn’t changed. However, as you all are aware, SharePoint 2016 has a major change in terms of its architecture .We have a new concept called as “MinRoles” that was introduced in SharePoint Server 2016 .MinRole enables SharePoint Administrators to limit a SharePoint server to a specific role (i.e. front end, application server, distributed cache and custom). So using MinRole you can make a SharePoint server only do the specific role which it’s expected to do based on the role it has been assigned to .This will definitely lead to a downside in terms of licensing as using MinRole the server will only do a specified task .Let me explain this with an example ( If you have your current SharePoint 2013 application server in your production farm running search , user profile and MMS etc. ….you won’t be able to run all these services in a single app server once you migrate to SharePoint server 2016 .You have to assign a specific server only for SharePoint search ) .So obviously this will lead to purchasing extra licenses if you need to utilize more services .

Also in terms of the necessary software prerequisites, SharePoint Server 2016 requires Window server 21012 R2 or Windows Server 2016 as the underlying operating system and also coming to the backend SQL server you need 64-bit edition of SQL Server 2014 SP1 or SQL Server 2016. Another important point to note is, SharePoint 2016 doesn’t have any foundation version. You get only standard and enterprise version. Please note that there are few changes that has implemented in SQL Server 2016, you have a new component called “PolyBase” that has been introduced in SQL Server 2016. This mainly takes care of combining both relational data and non-relational data within SQL Server itself. You can also run queries on external data in Hadoop or Azure blob storage using this. The key factor to note here is that, “PolyBase “can run only on a single instance in a SQL Server. If you have multiple instances of SQL running on the same server then you may not able to run “PolyBase” on all the instances. So please the “PolyBase” configuration accordingly.
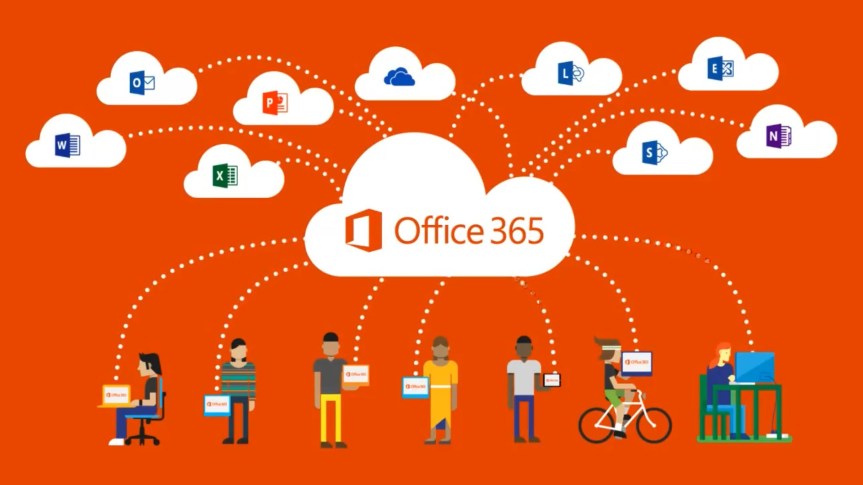
SharePoint Online and Hybrid:
Let’s see how licensing works on SharePoint Online and Hybrid, it’s a known fact that SharePoint Online has become a buzzword over a period of time and we can see a lot of organizations moving their on-premises SharePoint workload to cloud. However, I’ve noticed a lot of SharePoint professionals as well as project managers having a confusion on how licensing works for SharePoint Online and what has to be done for a successful SharePoint Hybrid implementation.
So just to clear the confusions about this, SharePoint on-prem as already discussed is server/CAL license based whereas SharePoint Online is subscription based. As you all know, most of the cloud services today are subscription based and their licensing is totally different from on-prem platforms. Azure and Office 365 are good examples for cloud based platforms that works based on subscriptions. However, there is a minor difference in terms of subscription between these two products (i.e. Office 365 & Azure) and I’ll be discussing about that in a different post.
With Office 365 (SharePoint Online) you get two types of plans, i.e. Plan 1 and Plan 2. Please check this link below to have a proper understanding of the features involved in both these plans.
https://products.office.com/en-us/SharePoint/compare-sharepoint-plans?legRedir=true&CorrelationId=d1645733-7515-401f-904a-f75983522c29
It’s up to you and your business to choose the appropriate plan that best suits your business need.
Now, before discussing SharePoint hybrid licensing, let’s take a look at the traditional on-premises scenario. Historically, SharePoint on-premises customers were required to purchase a server license for each SharePoint server, with a client access license (CAL) required for each user or device that will be accessing those servers. There was also an optional Enterprise CAL, sold on a per-user base for accessing additional features (Ex: SSRS).
When cloud services are added to the mix, this relatively straightforward scenario becomes more complicated. As a subscription-based service, SharePoint Online is bought through a monthly per-user fee, instead of licensing.
Roughly around 2 years ago, Microsoft attempted to simplify licensing for hybrid SharePoint deployments by allowing Office 365 user licenses to be used as CALs for accessing SharePoint resources that reside on-premises. In other words, organizations that had both local and cloud-based SharePoint resources would have to purchase server licenses for each on-premises SharePoint server, but would not be responsible for purchasing CALs, as long as every user accessing the on-premises SharePoint resources had SharePoint Online as part of their Office 365 subscription.
But things have changed a bit now, if an organization runs SharePoint in its data center and decides to extend its deployment to the Office 365 cloud, verifying that the local environment is properly licensed is the first thing to do. As previously mentioned, each SharePoint server requires a server license. Unlike CALs, there is no “enterprise” upsell for the servers. Organizations must simply purchase a SharePoint server license, and any required dependency licenses, such as for Windows Server and SQL Server.
The organization will also have to purchase CALs for each person or device that will access SharePoint. Microsoft offers Standard CALs and Enterprise CALs. The Standard CAL provides access to SharePoint’s core capabilities, such as sites, communities, content management and search.
Organizations that need SharePoint capabilities beyond those covered by the Standard CAL should purchase an Enterprise CAL — in addition to the Standard CAL — for each user or device that will access those resources. The Enterprise CAL provides access to features such as Power View or Excel Services.
With the Hybrid scenarios in place now, choosing the correct license/subscription might be bit confusing. To make this simple, please take a closer look at SharePoint Online Plan 1 and Plan 2 once again. Plan 1 for SharePoint Online is more or less matched to the features that are delivered through a Standard CAL, while SharePoint Online Plan 2 is closely matched to the SharePoint Enterprise CAL. There are some minor differences between the Standard CAL and SharePoint Online Plan 1, just as there are some minor differences between SharePoint Online Plan 2 and the Enterprise CAL, but mostly these hosting plans are closely matched to their on-premises counterparts.
To be more precise, let’s consider a scenario where you want to implement Hybrid search in your environment and you’re confused to choose the appropriate plan. In such case, take a look at the type of search that has been implemented in your on-premises SharePoint Farm. Is it normal search or Enterprise search? For the most part I bet it would be Enterprise search, then in such case you need to assign Plan 2 license in SharePoint Online for all the end users as only then they would be able to see the search results from SharePoint on-premises or vice versa. To know more about Hybrid search, please click this link to take a look on my blog post about Hybrid search.
![SimplifiedSharePointhybriddiagram_th[4].png](https://vigneshsharepointthoughts.com/wp-content/uploads/2016/06/simplifiedsharepointhybriddiagram_th41.png?w=863)
Last but not least, let’s take a look at licensing for SharePoint foundation. With SharePoint foundation, you don’t need to purchase any SharePoint license for SharePoint Foundation as it’s a free version. The only license you would need is the Windows server license on which SharePoint Foundation would be installed. You would also not require separate license for SQL Server as SharePoint foundation installs SQL Server express by itself while running the set up file.
Note: As already mentioned above, SharePoint 2016 doesn’t have any foundation version. You either get the Standard version or the Enterprise version.
Finally, to conclude, as SharePoint professionals it’s very important that you have a proper understanding of how licensing works in SharePoint on-premises and SharePoint Online as choosing the correct version/license is vital for any successful SharePoint implementation. If your organization uses SharePoint just to dump the documents and the usage is also very minimal where no enterprise features would be used, then choose the standard version. On the other hand, if you’re organization uses SharePoint for collaborating with customers /other stakeholders and also the dependency of enterprise features is more then choose the enterprise version. As far SharePoint Online/Hybrid is concerned choose the appropriate plan for the end users that best suits the business need. When it comes to migration where you would be migrating from on-premises version to the other one (preferably from 2013 to 2016) please make sure that considering the licenses for other supporting software’s also (i.e. SQL Server & Windows server).
Thanks for reading this post. Happy SharePointing!!!!


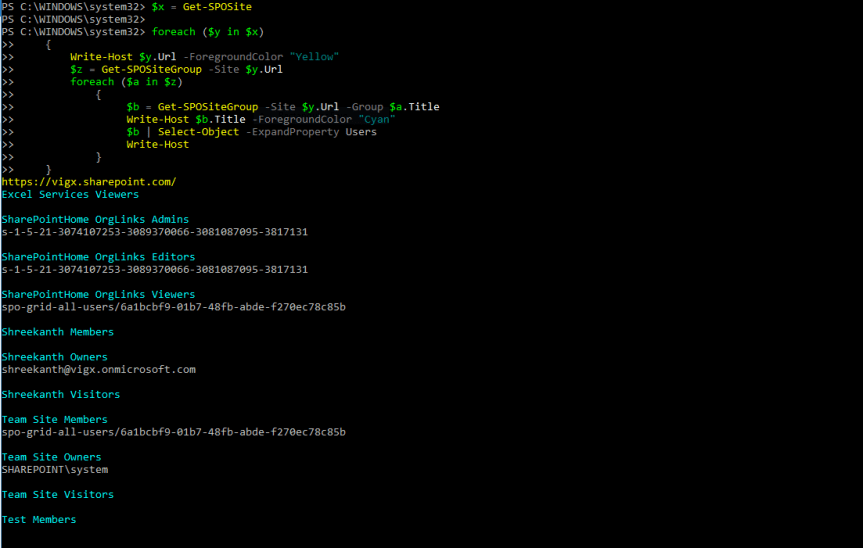


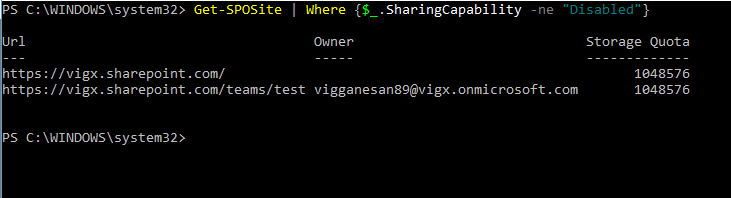


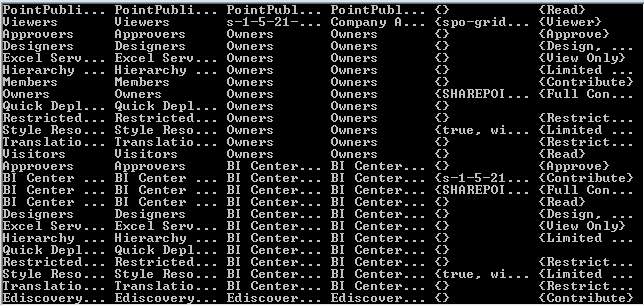


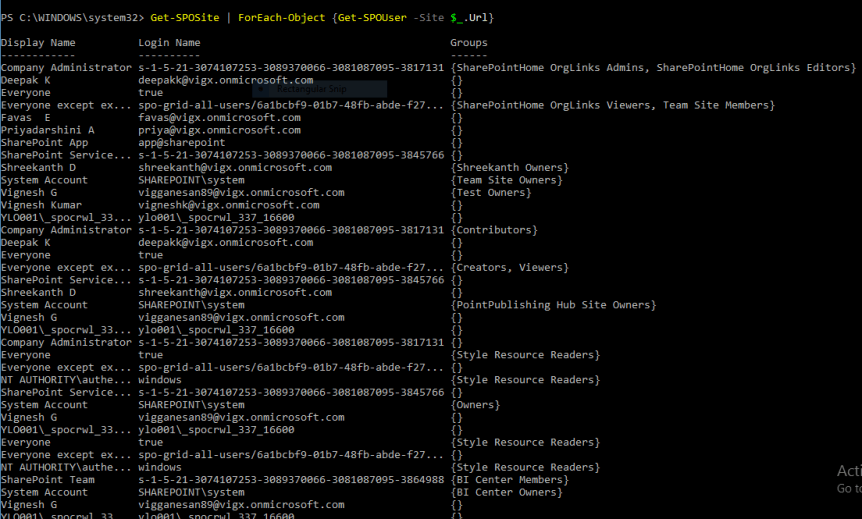

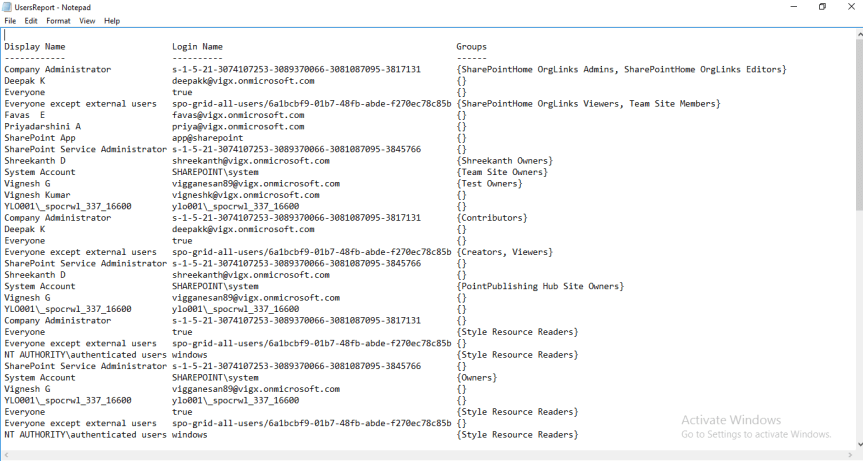
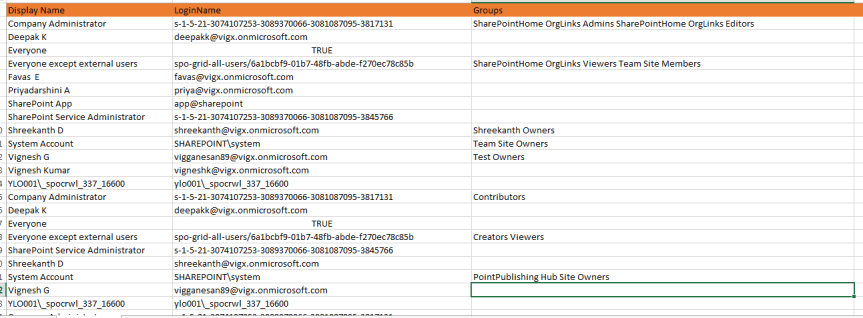
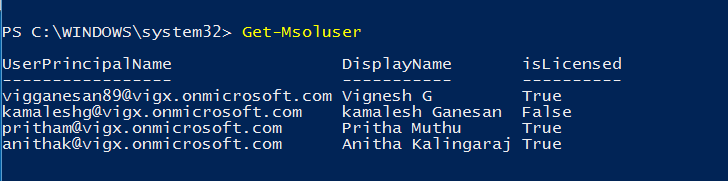
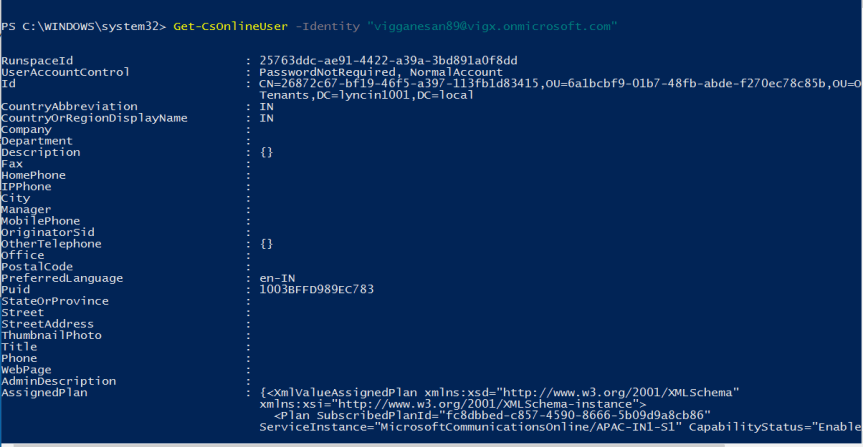
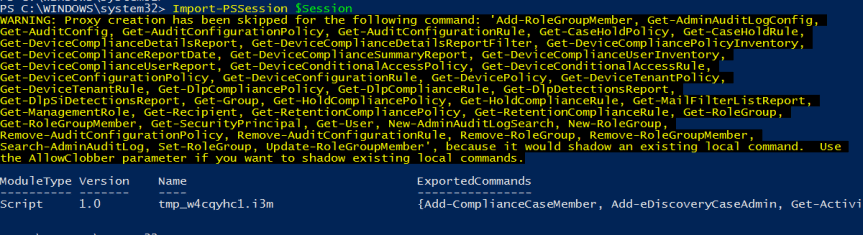
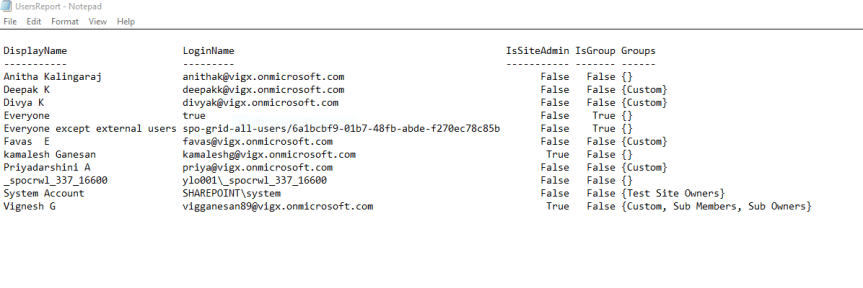 6. To get a report of the all user’s in your SharePoint Online Tenant, their display names, permission levels and other properties


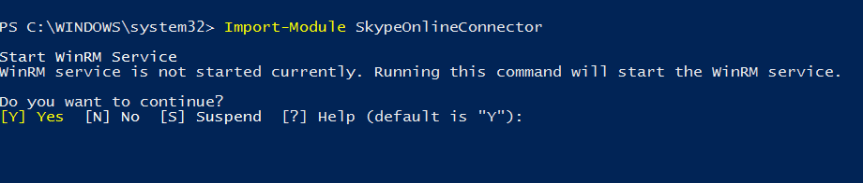


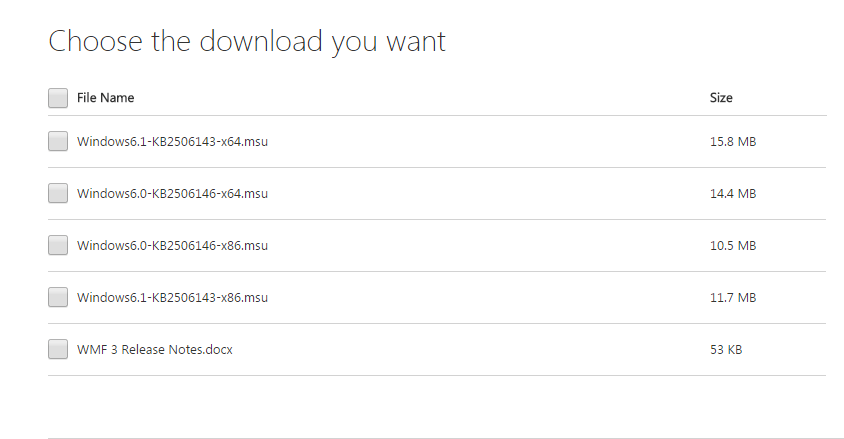
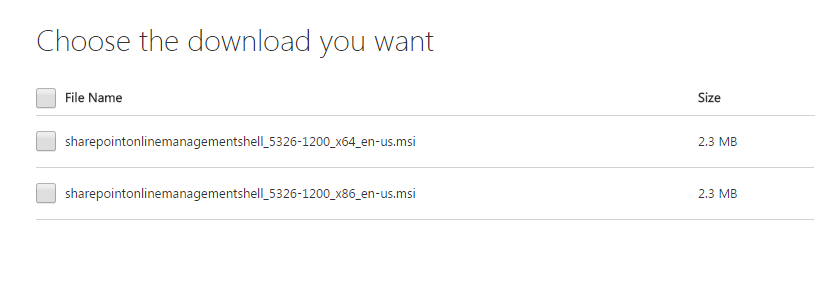 6. Once you’re done downloading the appropriate file go ahead and install it in your computer. You won’t be prompted for a system restart this time.