Hi Folks ,
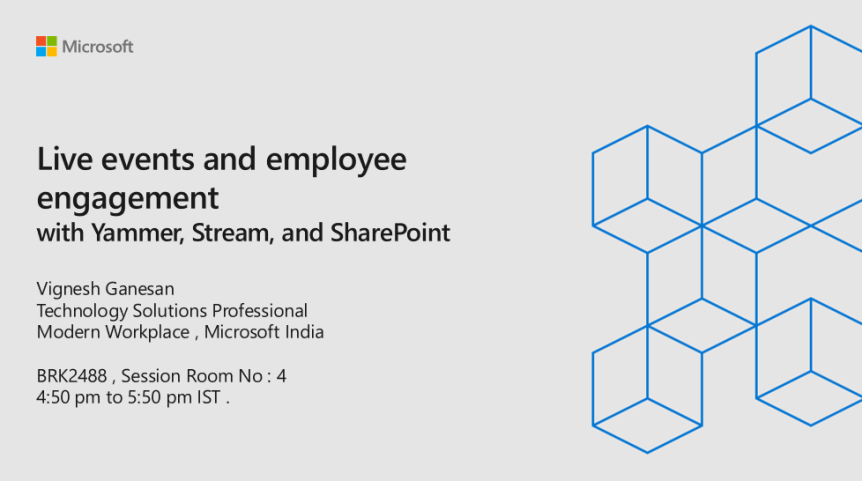
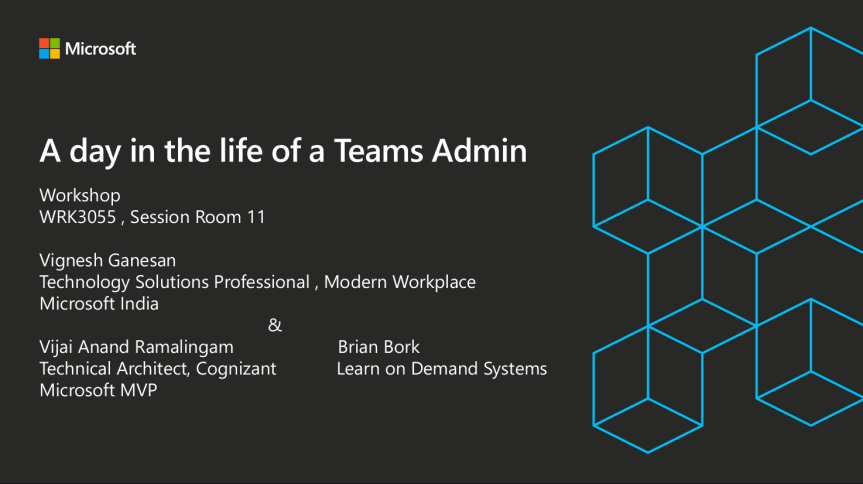
If you’re planning to attend the Microsoft Ignite Tour at Mumbai , then I’d definitely urge you folks to stop by for my session on “Live events and employee engagement with Yammer , Stream & SharePoint “ and also for a workshop on Microsoft Teams administration ,i.e. ” A day in the life of a Teams admin “ to improve your MS Teams administration skills .
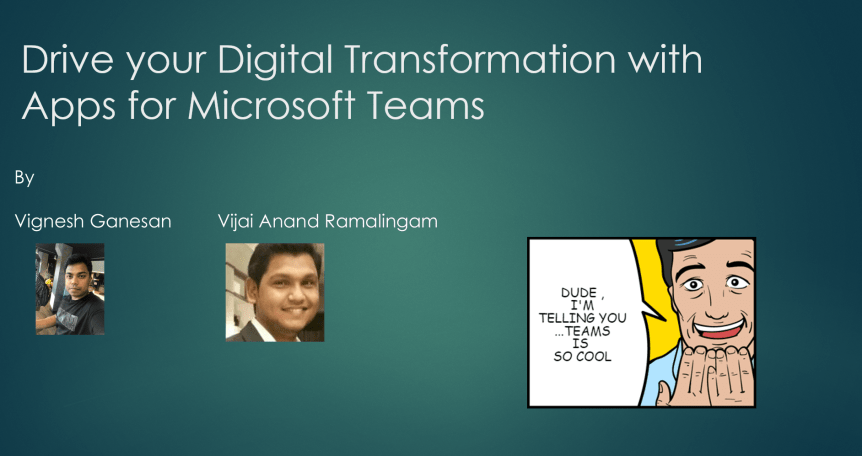
In addition to that I’ll be on the teams booth for the rest of the day . So please meet me there for some cool demoes on MS Teams and also to get your queries sorted on MS Teams . See you folks there !!! It’s gonna be loads of learning and fun . MSIgniteTheTour
My session details :_ https://sessioncatalog.myignitetour.techcommunity.microsoft.com/mumbai?fbclid=IwAR2LPM1RhD40Va0y690DwQzU-tmDL9mb8Tkx2aR2UKHFv_lnWPr7DxrE_Os
 Hi Folks ,